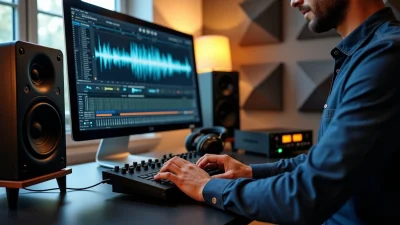
Want to know the secret behind professional-sounding masters with clarity and width? Mid side mastering separates amateur mixes from polished, radio-ready tracks.
Mid side processing allows you to treat the center and sides of your stereo mix independently. You can apply different EQ and compression to your mid channel (the center) and side channels (the stereo information) separately.
We’ll walk you through everything you need to become skilled at this technique. You’ll learn to choose the right mid side plugin and apply mid side eq mastering and mid side compression mastering like a pro.
Understanding Mid-Side Processing Fundamentals
What Makes Mid-Side Different in Mastering
Mid side processing, also called sum/difference processing, splits your stereo signal into two distinct components rather than the traditional left and right channels. The mid channel has all information common to both speakers. The side channel captures the differences between left and right. This separation gives you surgical control over your stereo image during mastering.
The polarity relationship between mid and side determines whether a sound sits to the left or right. The level balance determines how far in that direction it travels. Signal present only in the mid channel appears center-panned. Equal level and polarity signal in both mid and side channels makes sounds hard-panned left. Equal level but opposite polarity creates hard-panned right positioning.
Mastering with mid side processing just needs extra caution compared to mixing. You need to isolate mid and side channels first to hear what frequencies and elements occupy each space when dealing with a complete mix. Hard-panned sounds are 50% mid and 50% side. When you EQ just the side channel, hard-panned elements get mixed together with an un-EQed copy in the mid channel. This interaction requires precision.
The Mid Channel: Your Mix Foundation
The mid channel has material common between the left and right channels in your original stereo signal. This channel captures everything center-panned in your mix: kick drums, bass, lead vocals and other core elements that anchor your track.
A cohesive mid channel determines mono compatibility, which affects playback translation on devices of all types. Frequencies below 100 Hz should stay centered in the mid channel and with good reason too. Bass in stereo can cause vinyl needles to jump. Clubs use serial summing where anything under 100 Hz gets summed into one mono signal. Your bass exists in stereo and gets summed, it can quiet phased parts of your mix.
You can pull out low-mid resonance from bass around 170 Hz or remove brittleness around 3 kHz in vocals through the mid channel when applying mid side eq mastering. These adjustments shape the core of your mix without affecting the stereo width. Loud sounds closer to the center of the stereo image will make the overall image wider when you compress the mid channel.
The Side Channel: Adding Space and Dimension
The side channels represent the differential between your original left and right channels. They provide your track with a sense of width and space that wraps around the listener.
The side portion has more high-frequency content than low-frequency content. Wide-panned instruments like rhythm guitars, keyboard pads, drum overheads and backing vocals contain mids and highs that live in the side channel. You can use a wide boost around 550 Hz on the side channel to add width and energy to keys and background vocals. A high shelf boost on the side channel widens the top of percussion for extra detail.
Loud sounds further from the center will make the overall image narrower when you compress the side channel. This technique controls excessive width when needed. You can widen or narrow the overall stereo image by manipulating the frequency and level balance of the side signals. Time-based effects applied only to the sides give tracks a more focused sense of depth and width without stepping on the mid information or sounding washed out.
Preparing Your Track for Mid-Side Mastering

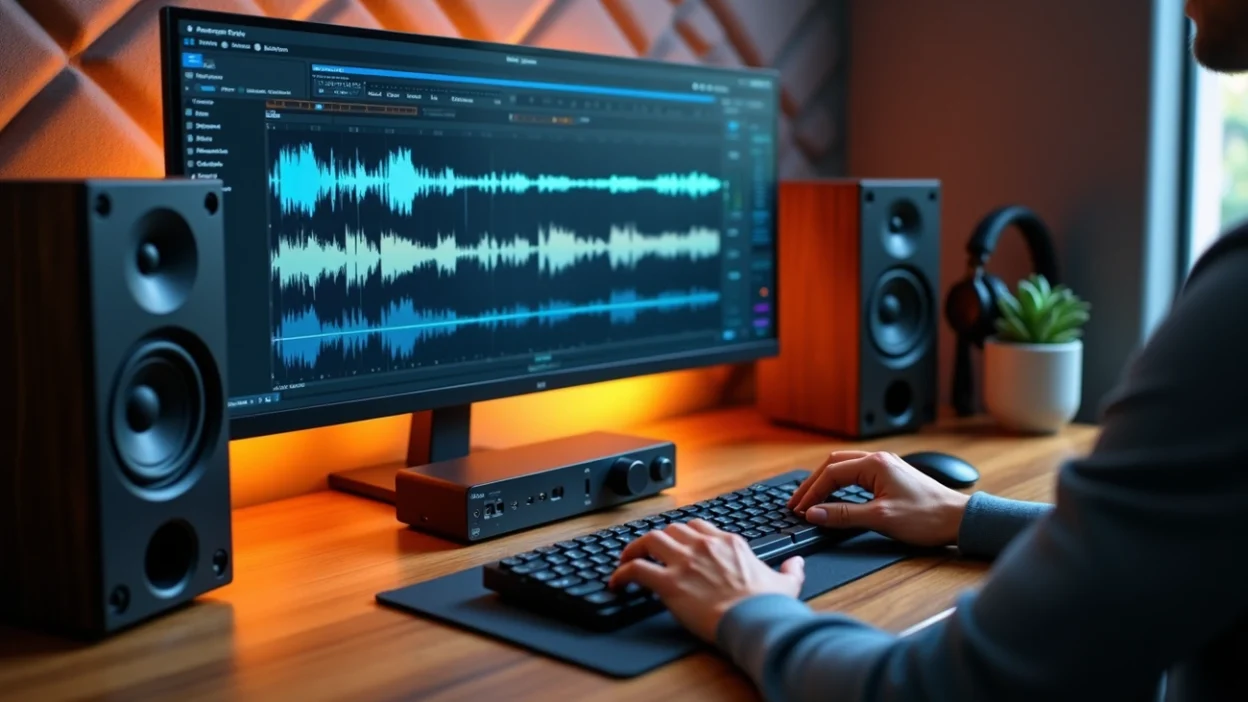
Analyzing the Stereo Image Before Processing
You need to listen to your track and identify what needs adjustment before applying any mid side processing. Does the center need more focus? Could the sides use additional air or width? This original assessment guides your mastering approach.
A vectorscope shows your audio’s placement in the stereo field. Your master has width when the image spreads across the circle. A thin line down the middle indicates mono content. The correlation meter shows how similar the left and right channels are. A reading near +1 indicates a well-balanced mix. Movement past the central point toward -1 signals phase issues that can cause the mix to fall apart in mono playback.
Filter the vectorscope and isolate specific frequencies to view their stereo placement. Set the high-cut to 250 Hz or less to see low frequencies that are too wide. These will glow yellow and red. The main goal is keeping low frequencies in the more central green area. This gives you a more powerful and balanced master. Wide bass frequencies might suffer from phase cancelation in mono playback and make your master sound weak.
Pay attention to the L-R meter. It shows how balanced your left and right outputs are. A central pointer means your music is balanced between speakers. An unbalanced output causes the pointer to hover too far left or right and glow red.
Setting Reference Levels
Professional tracks at the beginning of your session provide a frame of reference. You’ll know what a pro master should sound like. Choose reference tracks in the same genre with similar instrumentation and sounds to your production.
Compare your track to references and focus on how each frequency range sits in the mix. Is the low-end tight and controlled? Do the mids feel balanced or boxy? Are the highs crisp or dull? This process defines your sonic goal and builds a clear roadmap. You work with intention instead of guesswork.
Adjust the output gain of the EQ to match the output loudness to the input loudness when making EQ adjustments. This helps you decide whether your EQ decisions are improving or deteriorating your sound when you bypass the plugin.
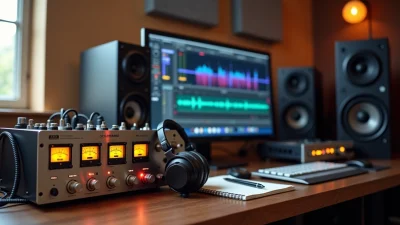
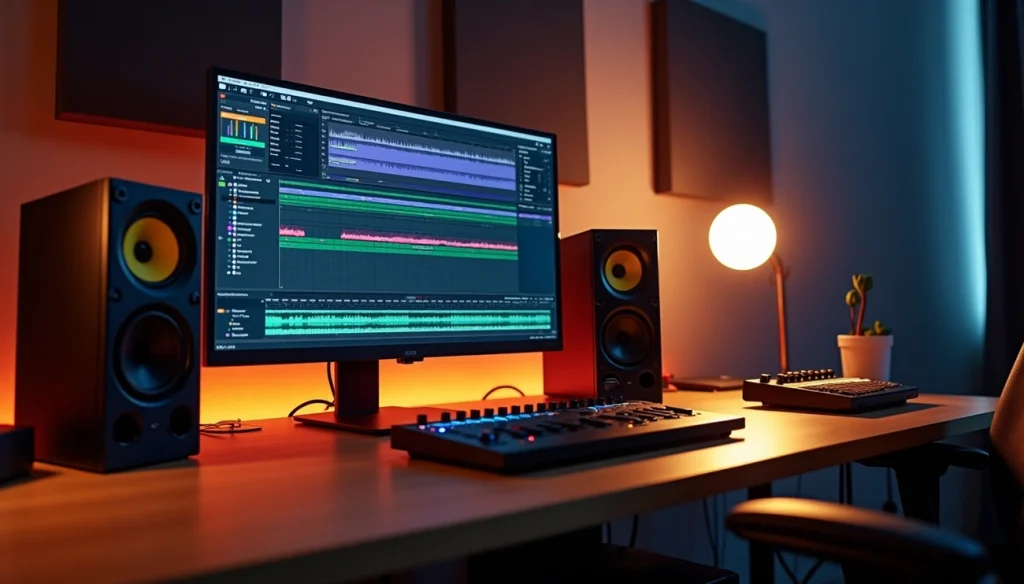
Mid-Side Plugin Options
Multiple plugin types handle mid side mastering. Dedicated M/S EQ plugins like MIXROOM provide visual feedback and easy-to-use controls to make precise adjustments. These tools help fine-tune the balance between mid and side channels to get a well-defined stereo image.
Encoder/decoder plugins like Voxengo’s MSED split stereo recordings into mid and side components and offer flexible routing. Set it to encode and the left portion becomes the M signal while the right becomes S. You can then use any plugins that manipulate L and R channels separately before converting back to stereo with another instance set to decode.
Some plugins offer built-in M/S capabilities without external encoding. These self-aware processors handle the splitting and reassembly internally. Many engineers prefer them because they track what processing applies to which components and reassemble into stereo output on their own.
Multi-band options expand your control and let you apply different M/S processing across frequency ranges. Tools like Waves Studio Rack enable parallel processing and mid side eq mastering on non-M/S plugins. They convert selected third-party VSTs to work with M/S operation.
Mastering with Mid-Side EQ Like a Pro
Focusing Bass Frequencies in the Center
Roll off sub frequencies below 40-60 Hz in the side channel. This move recenters low-end energy and tightens your bass while freeing up headroom. Most instruments with substantial low end like kick drums and basses are center-panned. Subwoovers operate in mono. Our ears struggle to locate low-frequency sources, so keeping bass centered won’t harm your mix.
Apply a high-pass filter with a 12dB slope on the side channel and bring the corner frequency to about 40-50 Hz. Excessive energy in the sides below 100 Hz may steal clarity from the kick and bass. Boost highs in the mid channel around 6-7 kHz for synth bass and 808s. You’ll get a tight, snappy attack without compromising low-end power.
Removing Muddiness from the Mid Channel
Muddiness builds between 200 and 500 Hz. Attenuate this low-mid range on the side channels to clean up the stereo image and direct focus to the vocal in the center. The result delivers a tighter mid channel and a wider, more controlled stereo image.
Cut low frequencies from the side channel with a low shelf filter. This removes problematic stereo information without affecting center-panned elements like vocals, kick drums and snare drums. Try cutting the low-mids between 250 Hz and 500 Hz on the mid channel if your mix sounds muddy.
Creating Width with High-Frequency Side Boosts
Add a high-shelf boost above 10-12 kHz in the side channels. This lift adds polished air and spatial sparkle that makes the top end wrap around the listener. Boost the 2kHz-7kHz region with a Q of 1.0 on the side channel, using 1 dB or less. Use a second bell-shaped filter to boost 7kHz-12kHz a bit more than the previous step.
Balancing Vocal Presence and Instrument Space
Boost around 3-5 kHz in the mid channel to add presence and articulation to vocals. This frequency range brings forwardness to the voice without boosting the entire stereo field. Try a subtle attenuation around 8-12 kHz in the mid channel. You’ll reduce harshness in the center while preserving width and shimmer in the side channels.
Using Shelving vs Parametric EQ Bands
Shelving filters work well for broad tonal adjustments. Use a baxandall high shelf filter to boost the top end from 12kHz and higher on the sides. This opens the top-end and increases stereo width and depth by boosting spatial effects like reverbs and delays. Parametric EQ bands offer surgical precision for targeting specific problem frequencies or enhancing narrow ranges without affecting surrounding frequencies.
Applying Mid-Side Compression for Professional Results
Controlling Mid Channel Dynamics for Punch
Mid side compression mastering separates the processing of groove elements from stereo components. The mid channel houses the main groove elements and lead vocal, while the sides contain pads, ambiences and supporting instruments. You boost the dynamics of the groove, the punch of the kick, or the presence of the snare or lead vocal when you manipulate the mid channel.
Light compression should be applied to the mid channel only. This addresses where most competition for space occurs and balances all elements together. Insert your preferred mix-bus compressor with M/S functionality on your stereo output. Compress the middle signal only, then bring the wet signal up until focus and punch return.
A few dB of compression on the mid channel contains the low end while you retain the size and clarity of the sides in bass-heavy music like hip-hop and trap. This controls the 808 kick and sub-bass without crushing the entire mix. Use a quick attack and release when you set the mid channel compressor. The compressor should not release too long to avoid sucking power from the bassline. The kick won’t punch through if the attack is too slow.
Taming Excessive Width with Side Compression
Compress the sides gently by a couple of dB with a 100ms attack, 150ms release, and a low ratio to reduce gain transparently. Then dial in makeup gain on the sides. This approach brings out spacious qualities, especially reverb in trap records. It adds a sense of space.
Keep side compression subtle. Compress the sides or mids a maximum of 3 dB of gain reduction for general purposes. Loud sounds further from the center will make the overall image narrower when you compress the side channel.
Setting Attack and Release Times Correctly
Use long-enough release times so bass doesn’t distort and slow-enough attack times so each beat’s impact isn’t lost in bass-heavy music. Start with 100ms attack and 100ms to 200ms release times.
Final Steps and Quality Control
Testing Mono Compatibility
Check mono compatibility from a single speaker rather than summing both monitors. Two speakers reproducing similar mono signals create comb filtering as sound waves meet and interfere in the air. Music mixed to work well in mono will sound great in stereo, but the reverse isn’t always true. FM radio broadcasts via sum/difference signals, and you only get the mono sum in weak reception. Lossy encoding like MP3 and AAC handles audio better when more signal is common to both channels.
Comparing Your Master to Reference Tracks
Turn reference tracks down 6-10 dB to match your pre-master’s loudness. Mastered tracks are what people listen to, which makes them your standard. Match perceived loudness before comparing tonal balance. Louder music creates the illusion of richer lows and clearer highs otherwise. Performance, recording and mixing account for 95% of the sound you hear.
Avoiding Over-Processing Pitfalls
Start with EQ and limiting only. Most mastering happens with these two tools alone. Pick up loudness through different parts of your chain rather than slamming one limiter. Listen first and process second. An over-processed signal sticks out more to listeners than a raw one.
Exporting Your Final Master
Remove all plugins from your output channel, especially limiters and multipressors. Check that your bounce sounds correct before delivering. Export as a .wav file and confirm the file size matches your track length.
Table of Contents
Conclusion
You now have everything you need to master tracks using professional mid side mastering techniques. By applying mid side mastering correctly, you gain precise control over your stereo image, allowing you to shape the center and sides independently for a cleaner, wider, and more impactful sound.
Mid side mastering gives you the ability to tighten low end frequencies in the center while enhancing the sides with clarity, width, and high end detail. When used properly, mid side mastering transforms flat mixes into immersive, professional productions that translate well across all playback systems.
However, the real power of mid side mastering lies in subtlety. Start with small adjustments, trust your ears, and avoid over processing. Great mid side mastering is often invisible, it enhances without being obvious. Regularly check your masters in mono to ensure phase compatibility, and always compare your results with reference tracks to maintain balance and consistency.
As you continue practicing mid side mastering, you’ll develop a deeper understanding of stereo space, tonal balance, and dynamic control. Over time, your masters will gain more clarity, punch, and that polished, professional dimension that separates high quality productions from amateur mixes.
Mastering mid side mastering is not just about tools, it is about decision making, precision, and musical intent. The more you refine your mid side mastering workflow, the more confident and consistent your results will become.
Keep refining your approach, stay subtle, and let mid side mastering elevate your sound to the next level.