The -6 dB headroom for mastering rule has been circulating for years. But here’s the truth: it’s an outdated recommendation that no longer applies to modern digital workflows.
Conventional belief suggests mixes should peak at -6 dB before mastering. But with today’s digital mastering tools, any level below 0 dBFS works fine, whether that’s -12 dB, -6 dB, -3 dB, or -1 dB[-3]. Understanding how much headroom to leave for mastering and what is headroom in audio can save you from overthinking.
This piece will break down how to set proper audio headroom and what mastering engineers need from your mix.
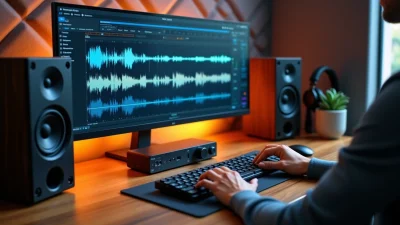
Understanding Audio Headroom Basics
What Headroom Means in Digital Audio
Headroom in a digital audio system represents the difference between the highest peak in your audio signal and the absolute amplitude level of 0 dBFS. Think of it as the safety buffer between your loudest moment and the point where your system breaks down.
Headroom measures how much space exists before digital clipping occurs. A mix that peaks at -6 dB has 6 dB of headroom. At -3 dB, you have 3 dB of headroom. The measurement itself is straightforward: subtract your peak level from zero.
The relationship between dBFS and ground loudness often confuses producers. Decibels in the digital realm are called dBFS or ‘Decibels Full Scale,’ while decibels in the ground world are called dB SPL or ‘Sound Pressure Level’. A recording that peaks at 0 dBFS can be as quiet as a library or as loud as a jet engine upon playback. The playback system and volume knob determine this. Your master’s dBFS only indicates how loud your song will be relative to other songs played back under similar circumstances.
Peak Levels vs Average Loudness Explained
Peak level represents the absolute highest level a signal reaches at any instant. This measurement changes faster and spikes at the time drum hits occur in your mix. Peak meters show these momentary spikes, which is why you’ll see them jump on transients.
RMS (Root Mean Square), though, measures average loudness over time. Digital audio applications measure RMS at 300ms. The peak level is averaged out into the RMS level during that duration and represented in DAWs as a slower moving line below the peak.
The relationship between these two measurements tells you about your mix’s dynamics. A large gap between RMS and peak values means your audio track is dynamic. RMS and peak values that sit close together indicate your track is compressed or has minimal dynamics.
True peak metering adds another layer to this discussion. A true peak meter displays the absolute peak of an audio’s waveform as it will be heard in the analog realm through speakers. Most DAWs show levels using a Sample Peak Program Meter, which only shows the peak sample value and doesn’t represent the true peak of the audio. A reconstruction filter is applied to round off the stepped digital audio signal during digital to analog conversion, and these filters can cause slight changes in the audio’s levels.
Why 0 dBFS is the Critical Threshold
The loudest anything can ever be in the digital realm is 0 dBFS, also called ‘digital zero‘. You cause clipping by going over digital zero. This isn’t a suggestion or guideline but an absolute technical limitation of digital audio systems.
A signal that exceeds 0 dBFS and isn’t clipped by the digital filter exhibits gross distortion. A well-designed CD player or DAC will have -90 dB THD + N or better at 0 dBFS, but the distortion can be degraded by 50 to 60 dB at the time you go over that limit. Digital clipping results from exceeding 0 dBFS and demonstrates sonically as loud clicks and noisy artifacts.
High-end digital to analog converters have headroom to compensate for inter-sample peaks, but cheap speakers won’t be able to compensate for these peaks. This means your mix won’t sound distorted in the studio, but your peaks might become clipped through a cheap Hi-Fi.
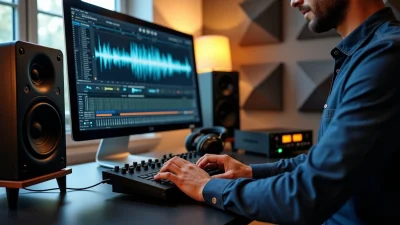
How Much Headroom for Mastering: The Truth
The -6 dB Myth Explained
The recommendation to peak at -6 dB dates back to early digital audio when mixes were captured on DAT (digital audio tape) or Alesis MasterLink two-track recorders. These devices were primitive and didn’t sound good when input levels were clipped or when levels reached the very top range of the digital scale. The suggestion for peaks no higher than -6 dB was a safe and general recommendation, and with good reason too.
Digital audio has advanced substantially since those days. Putting too much thought and effort into peaking at -6 dB or -3 dB in your DAW is more or less a waste of time. The -6 dB figure also relates to analog to digital converters, where some cheaper converters can sound harsh when the very top range of the input level is used. But if you’re working in the box without analog conversion, this concern disappears.
Why Any Level Below 0 dB Works
Mastering engineers can optimize a track regardless of where it peaks, which is why headroom for mastering should not be reduced to a rigid number. Whether your mix peaks at -12 dB, -6 dB, or even -1 dB, modern tools allow full control during the mastering stage. In practice, any level below 0 dBFS provides usable headroom for mastering, as long as the signal remains clean and unclipped. A mix peaking at -3 dB can be just as effective as one at -12 dB, because headroom for mastering is about preserving flexibility—not hitting a fixed target.
The only absolute boundary in digital audio is 0 dBFS. This is the true limit you must respect when thinking about headroom for mastering. Once your audio hits or exceeds 0 dBFS, clipping occurs. This introduces irreversible distortion that becomes embedded into the file itself. Lowering the volume afterward will not remove that distortion, which is why maintaining proper headroom for mastering is essential. Clean peaks below 0 dBFS ensure that your mix remains intact and ready for professional processing.
For fully digital (in-the-box) productions, maintaining consistent peaks above roughly -20 dBFS is generally more than enough to ensure healthy headroom for mastering. What matters more than peak position is the overall loudness and dynamic behavior of your track. Integrated and Short-Term LUFS values give a clearer picture of how aggressively your mix is being processed. If your mix is already sitting around -13 LUFS or louder, it often means limiting or heavy compression has been applied—reducing the effective headroom for mastering and leaving less room for improvement during the final stage.
This is why focusing purely on peak values can be misleading. Proper headroom for mastering is not just about how high your signal goes, but about how much dynamic range you preserve. A mix that is overly loud before mastering limits what can be achieved later. By contrast, a dynamic mix with controlled peaks and moderate loudness gives mastering engineers the freedom to shape the final sound without compromise.
Ultimately, headroom for mastering should be approached as a balance between technical cleanliness and musical intention. Keep your peaks safely below 0 dBFS, avoid unnecessary limiting, and pay attention to your LUFS levels. When your mix breathes naturally and retains its dynamics, you are creating ideal headroom for mastering—giving the final stage everything it needs to elevate your track to a professional standard.
Digital vs Analog Headroom Requirements
A digital system at 0 dBFS means you have no more headroom before distortion will occur. An analog setup works differently. At 0VU, it’s not the cap in terms of headroom. The amount of headroom is often an additional 20 dB above 0VU.
Analog systems don’t have as much of an absolute cutoff as digital systems do. Whatever how loud a signal can become in an analog mastering setup, it will need to be made into a digital signal for distribution.
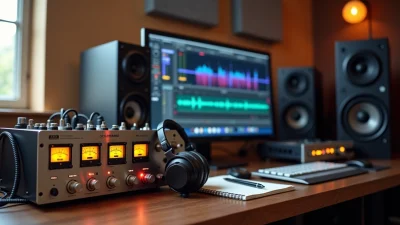
What Mastering Engineers Actually Need
Mastering engineers care if peak levels of an unmastered mix hit 0 dBFS on a 24-bit mix file. Two critical steps provide a mix ideal for mastering: don’t allow peak levels to reach 0 dBFS, and don’t use a peak-limiter or similar plugins that prevent peaks by creating a hard ceiling at or below 0 dBFS.
A mastering engineer can turn down a loud unmastered mix to a workable level, but they can’t undo damage from peak-limiting or clipping. The damage is permanent once a mix is limited or clipped.
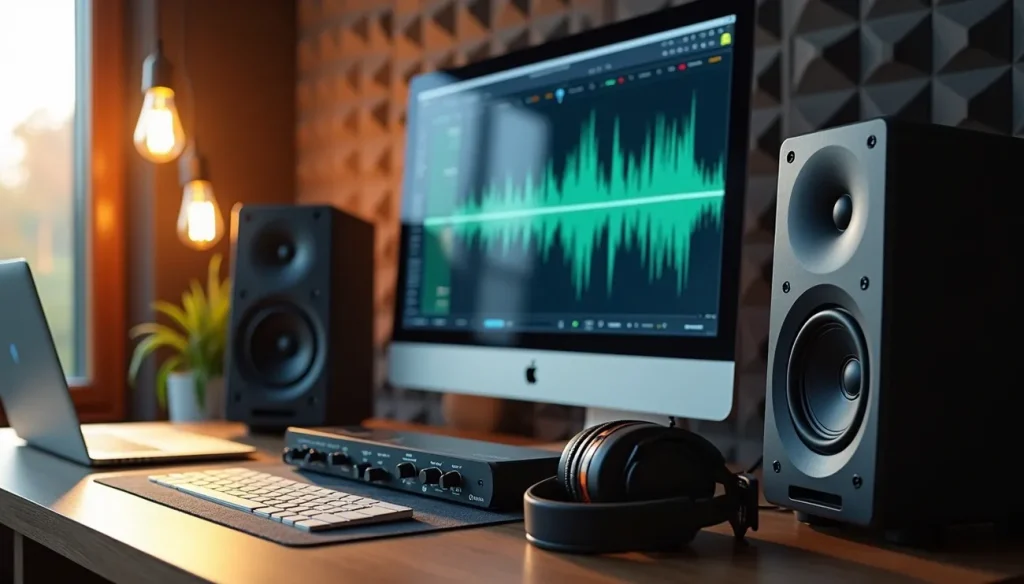
Step-by-Step: Setting Headroom in Your Mix
To prepare your mix for mastering, you need specific steps that go beyond turning down the master fader. Here’s how to set headroom in your mix the right way.
Step 1: Remove Limiters from Your Master Bus
Disable any limiters, maximizers, or clippers on your master channel first. These plugins create a hard ceiling that prevents a mastering engineer from working with the full dynamic range of your mix. Remove stereo enhancers and aggressive compressors with more than 3 dB of gain reduction. Also remove any plugins added only for loudness. If you mixed into these processors and removing them changes your sound substantially, send two versions: one with the processing and one without.
Step 2: Check Your Peak Meters
Use a true peak meter to verify your levels. True peak meters show all peaks, including ones that happen during your song’s conversion into audio. Regular peak meters in most DAWs display sample peak values only and miss inter-sample peaks that can cause clipping during playback. Peaks should fall below -6 dBFS at the loudest sections when mixing. The K-20 metering approach offers a different way: set your meters to K-20 scale, which moves the 0 point to -20 dBFS. Then adjust bass and kick drum average levels a few dB below the 0 mark.
Step 3: Adjust Individual Track Levels
Pull down individual track faders rather than the master fader if your mix peaks too high. Select all group busses and move them down together by a few decibels to maintain your mix balance. This approach prevents issues with existing automation or bus compression. You can also insert a gain plugin on each track or bus and reduce levels there.
Step 4: Choose the Right Export Format
Export at 24-bit depth matching your project’s sample rate, which is 44.1 kHz or 48 kHz in most cases. A 24-bit file gives more dynamic range than 16-bit. Use 32-bit float format for maximum flexibility, which allows the mastering engineer to adjust levels without quality loss. Skip normalization, dithering, and any processing during export.
Step 5: Send Reference Versions to Your Mastering Engineer
Include a reference master with your mix files. This version shows the mastering engineer your vision for loudness and tone. Send your clean mix peaking around -4 dB to -7 dB, plus a reference where you’ve pushed the mix through a limiter to approximate your target sound.
What Kills Headroom and Dynamic Range
Several mixing practices destroy the headroom and dynamic range a mastering engineer needs to do their job.
Heavy Compression on the Mix Bus
Aggressive compression on your mix bus creates problems right away. Squeezing dynamics too hard with compressors on multiple instruments makes the mix sound choked. Your waveform looks like a brick without any difference in level between quiet and loud parts. This creates a fatiguing listening experience. Compression with a ratio of 10:1 or more is limiting. The results rarely benefit the mix if your meter shows more than a few dB of compression.
Brick-Wall Limiting Before Mastering
Don’t use brickwall limiters on your mixbus. Brick wall limiting employs a very high ratio and fast attack time, with ratios from 20:1 up to ∞:1. Slapping one on your entire mix before mastering reduces the dynamic range your mastering engineer has to work with. Limiters can add unwanted distortion and lessen the punch of transients in a mix when used wrong.
Clipping and Digital Distortion
Clipping affects headroom, loudness, distortion and dynamic range. Headroom shrinks when clipping occurs by accident. This causes harsh distortion and loss of audio fidelity. Digital clipping sounds harsh and unpleasant. Analog distortion can add character. The harsh frequencies from digital clipping increase listener fatigue.
Why Loudness Should Happen in Mastering
Mastering engineers possess specialized tools and experience to maximize loudness while preserving dynamics. The loudness wars resulted from using higher degrees of compression and limiting during mixing and mastering. Pushing your mix close to 0 dBFS can result in digital clipping or require a limiter that changes your mix’s character. Leave loudness decisions to the mastering stage where they belong.
Working with Your Mastering Engineer
Communicating About Headroom Requirements
Ask your mastering engineer about their priorities for delivery specifications before you export. Most engineers ask for headroom between -3 dB to -6 dB. But these priorities vary by engineer and genre. Some work comfortably with -12 dB of headroom. Others prefer -3 dB. Direct communication eliminates guesswork and prevents revision rounds.
Sending Two Mix Versions
Mastering engineers appreciate receiving multiple mix versions. Send both the compressed version and a clean alternative if you mixed into master bus compression that shapes your sound. Common variations include vocal up (1 dB louder) and vocal down mixes. The mastering engineer gets flexibility while your creative intent stays preserved with this approach.
Understanding Different Genre Standards
Headroom requirements change according to genre. Electronic music often just needs more aggressive limiting. Acoustic genres benefit from greater dynamics. Discuss your target medium with your mastering engineer. Vinyl requires different treatment than streaming platforms.
When to Use 32-Bit Float Export
You pay zero attention to dither and truncation with 32-bit float exports. This format preserves peaks exceeding 0 dBFS and recovers any accidental clipping. But 24-bit WAV remains the most acceptable format for mastering houses. Use 32-bit float when your mastering engineer requests it. Otherwise stick with 24-bit files.
Table of Contents
Conclusion
Right now, you already have everything you need to set proper headroom for mastering without overcomplicating your workflow. The obsession with fixed numbers has confused a lot of producers, but the reality is much simpler: headroom for mastering is about clarity, flexibility, and preserving the integrity of your mix—not hitting an arbitrary target.
The old “-6 dB rule” is outdated because modern mastering workflows are far more adaptable. What truly matters for good headroom for mastering is making sure your mix isn’t clipping, your peaks stay below 0 dBFS, and you’re not artificially squashing your dynamics with limiters on the master bus. Whether your mix peaks at -3 dB or -12 dB, a professional mastering engineer can adjust levels easily. The real value of proper headroom for mastering lies in giving them a clean, dynamic signal to work with.
Think of headroom for mastering as creative space. When your mix breathes, your transients hit harder, your low end stays controlled, and your overall sound feels more alive. Over-limiting during the mix stage removes that space and forces the mastering stage to fix problems instead of enhancing your track. That’s why maintaining natural dynamics is one of the most important aspects of good headroom for mastering.
Another key point is communication. Every mastering engineer may approach headroom for mastering slightly differently depending on the genre, platform, or artistic direction. Some may prefer more conservative levels, others may not care as long as there’s no clipping. Instead of guessing, simply ask. Clear communication will always outperform blindly following generic rules about headroom for mastering.
From a technical standpoint, exporting your track in 24-bit (or higher) gives plenty of dynamic range, which further reduces the need to worry excessively about exact headroom for mastering values. Modern digital audio systems are incredibly forgiving when used correctly. What they cannot fix easily, however, is a poorly balanced mix or one that has been over-processed.
So instead of stressing over whether you’re at -6 dB, -8 dB, or any specific number, shift your focus. The real power of headroom for mastering comes from good mixing decisions: balanced frequencies, controlled dynamics, and intentional use of processing. That’s what translates into a professional final master.
At the end of the day, headroom for mastering is not a strict rule—it’s a mindset. Keep your signal clean, avoid unnecessary limiting, preserve your dynamics, and trust the mastering stage to do its job. The less you obsess over exact numbers, the more you can invest your energy into what actually matters: making your music sound better.