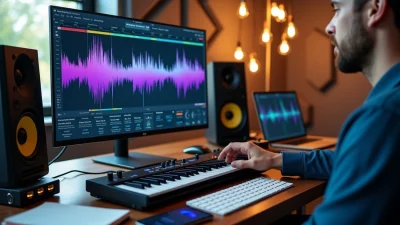
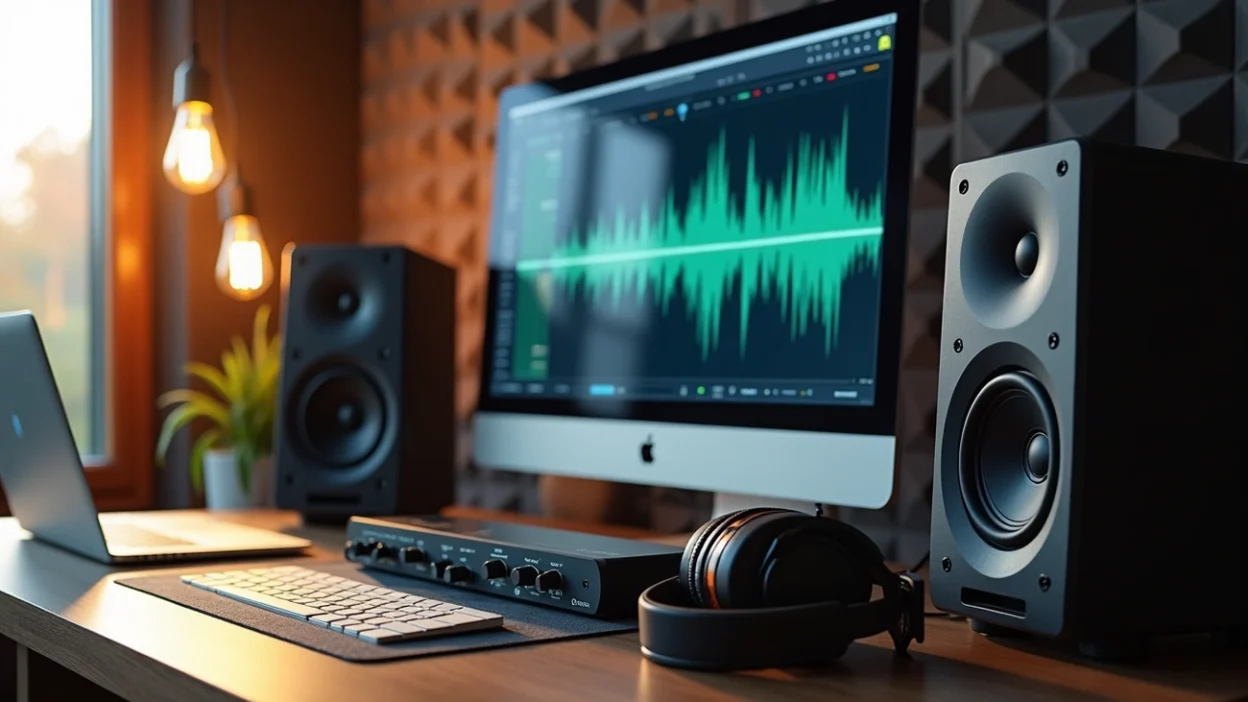
Understanding how to master a techno track means balancing an equation: achieving competitive loudness without sacrificing the punch that makes dancefloors move.
Beyond a certain threshold, more maximization equals less punch. So most producers want to hit RMS levels between -12db and -8db, but there’s no one-size-fits-all answer.
That’s where our approach comes in. We’ll walk you through mastering techno, from managing low-frequency foundations to achieving club-ready loudness while preserving your track’s energy and dynamics.
What Pro Techno Mastering Actually Involves: How to Master a Techno Track
Mastering techno step by step requires knowing what you’re doing at this production stage. Most producers confuse mastering with stereo bus processing or assume it’s just about making tracks louder. Neither assumption holds true.
Mastering vs Mixing: Understanding the Difference
Mixing focuses on individual audio layers within your session. You balance kick drums against basslines during this stage, carve space for hi-hats, and apply effects to specific channels. You might spend days or even weeks working with dozens of tracks to create a cohesive mix.
Mastering works exclusively with your final stereo mixdown. The process prepares that single file for distribution by optimizing loudness, EQ and consistency. Mixing asks “how does this kick sample affect that bass sound,” but mastering asks “what frequency range sounds imbalanced across the entire track”.
The timeline is different. Mixing a techno track can take anywhere from a day to a week. Mastering typically requires nowhere near as much time. This speed stems from perspective. Mastering engineers provide balanced and objective viewpoints without getting lost in minute details.
The Role of a Mastering Engineer
A mastering engineer serves as your last line of defense before your track hits Beatport, Spotify or the pressing plant. They function as quality control and work to make your stereo track shine on every conceivable playback system.
Their main goals center on translation and competition. They ensure your track sounds consistent whether played through club systems, car speakers or earbuds. They also position your release to compete with established artists in the genre.
Professional mastering engineers who work extensively with techno report consistent issues in tracks they receive. The most common problems include unclear low-end that sounds wubby without impact and harsh highs with uncontrolled or excessive bass. Over-compression creates another frequent issue and results in a wall of sound where nothing remains discernible.
Dynamics present particular challenges. Tracks that lack proper transient management push producers to boost the 2kHz area trying to recover clarity. This results in mushy and harsh-sounding mixes. Mastering engineers apply subtle processing, around 1 dB of EQ adjustment up or down, along with compression used as much for tonal color as for dynamics control.
Mastering engineers catch random ticks, pops, distortions and spectral anomalies that mixing engineers miss after hours of listening to the same material. They also handle technical requirements: streaming platforms might need high-resolution 24-bit files, while CDs require 44.1 kHz/16-bit specifications.
When to Master Your Own Tracks
Self-mastering makes sense when you understand your track better than anyone else. Nobody gets your artistic vision with the same depth you do. Learning to master your own material eliminates back-and-forth communication with engineers and gives you final control over how your music reaches listeners.
The benefits extend beyond convenience. Mastering your own tracks improves your mixing and production skills as a result of understanding the full production chain. You can quickly create club-ready masters for testing work-in-progress tracks during DJ sets, which provides a big advantage.
Self-mastering carries real drawbacks though. Fresh ears matter. You lose objectivity after spending days or weeks on a mix. Your hearing adapts to issues that need fixing and makes unbiased mastering decisions hard. Professional engineers bring specialized monitoring environments, acoustically treated rooms working in harmony with adjusted speakers and equipment costing thousands of dollars.
Self-mastering provides adequate results for demos and SoundCloud uploads, for testing tracks in DJ mixes. Professional mastering becomes worthwhile for label releases, both for quality and peace of mind. Many producers self-master for their own releases but use professional engineers for label submissions.
Budget plays a role. Learning the skill yourself beats releasing unmastered material if you cannot afford professional mastering. Just recognize that mastering represents another skill on top of mixing, arrangement, sound design and music theory. The learning curve exists, but the creative freedom and sonic control make the effort worthwhile for serious techno producers.
Essential Tools and Setup for Techno Mastering
Setting up for techno mastering requires specific tools and an environment that reveals what’s happening in your audio. You cannot make reliable decisions when your room lies to you or your plugins lack the precision needed for subtle adjustments.
Required Plugins and Hardware
Mastering engineers rely on Kirchhoff as a workhorse digital EQ for surgical corrections. When problems demand deeper investigation, Multiplicity functions as a Swiss-army-knife problem solver. DSEQ provides granular control over problematic frequencies. FabFilter Pro-Q4 has become a frequent choice and replaces DMG Equilibrium for its workflow advantages, though never for upwards processing.
Masterplan delivers impressive results for transparency and musicality, especially when you have the long-time industry standard Pro L2 to compare against. Pro L2 remains solid for its versatility and intelligent release algorithms. Gold Clip adds warmth and subtle saturation, enhancing the character of mixes without over-coloring them. God Particle excels at adding clarity and depth in low-end frequencies where techno lives. TC MD4HD provides precise multiband control during mastering sessions.
Targeted, creative saturation calls for Specter. ADPTR Audio Streamliner does a great job at revealing potential issues before distribution when you need to audition how your master translates across streaming codecs. Ozone 11 offers stem separating functions when needed for more invasive problem solving.
Hardware considerations center on conversion quality. The Prism Sound Titan features A/D to D/A converters often described as unbeatable. Universal Audio Apollo provides access to an impressive array of plugins while offering outboard CPU power. Audio interfaces matter for converter quality rather than feature counts or I/O flexibility.
Room Treatment Considerations
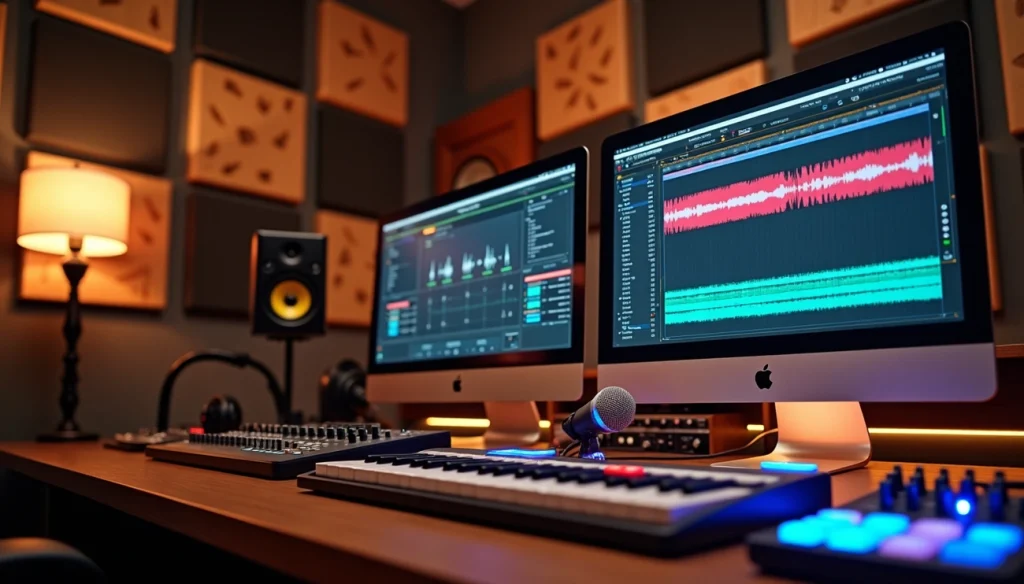
Acoustic treatment minimizes the room’s influence on sound and lets you hear music as it exists rather than as your room interprets it. This clarity becomes vital for mastering since subtle adjustments separate good tracks from great ones.
Common problems include excessive reverb, standing waves and bass buildup, all of which mislead mastering decisions. Your target reverberation time (RT60) should fall between 0.3 and 0.5 seconds. More than this creates too much ambience and a blurry sound field. Less than this sounds unnatural and won’t reproduce well in average listening environments.
Absorption panels defend against problematic reflections. They work best when placed at first reflection points, locations on walls where sound from speakers reflects towards your ears. Bass traps handle low-frequency buildups in corners where these frequencies congregate. You’ll never hear complaints about too much absorption of low frequencies in small rooms.
Diffusers scatter sound energy rather than removing it and create a more even and natural sound field. While absorbers remove energy from the room, diffusers distribute it throughout the space. Striking a balance between absorption and reflection matters. Over-treating a room makes it unnaturally dead, which misleads as much as too much echo. The room should remain transparent and allow decisions based on music rather than room characteristics.
Speaker placement forms the life-blood of proper setup. Position speakers to form an equilateral triangle with your listening position, meaning speakers sit as far apart from each other as they are from you. Avoid placing monitors too close to walls, especially corners, where bass frequencies build up and cloud judgment.
Monitoring at the Right Levels
Monitor calibration will give consistent and reliable output. The goal centers on getting monitors to provide true sound representation, free from distortion and imbalances that lead to poor judgment calls.
The sweet spot in volume for mastering often sits around 73-76dB SPL, but this may not be practical or safe over long sessions, especially when you have home studios. Finding a comfortable level where the full frequency spectrum remains audible and you can listen for extended periods without fatigue becomes key.
Think over proper monitoring as conversational level. If you could speak to somebody next to you without raising your voice, you’re in the right ballpark. Most people mix way too loud. Loud listening fatigues ears quicker and warps your view of the low end. Mixing at lower levels forces you to improve listening abilities and hear small details without crazy volume.
Professional mastering engineers monitor around 76-77dB SPL C/slow most of the time. Room size plays a part too. You don’t want to use film stage reference levels of 85dB SPL in small rooms. Some engineers check through various listening levels and use low, medium and high reference points marked on their preamp.
Mastering Techno Step by Step: The Low Frequency Foundation
Low-frequency foundation work separates club-ready masters from bedroom productions. The kick and sub are the foundations of any techno track. When they clash or fight for space, the entire low end collapses on a club system.
Step 1: High-Pass Filtering Strategy
Start by cutting everything with a filter at 20Hz with a 24dB/octave slope. This removes unnecessary rumble that most sound systems cannot reproduce. Humans cannot hear frequencies below 40Hz, but these inaudible frequencies affect the frequency spectrum and reduce overall headroom.
Remove 20 or 30Hz and below from bass-heavy instruments. Your mix gets more headroom on meters while you keep plenty of bass that we can actually hear and feel. Most of what drives the meters is uncontrolled bass energy. Stop bass frequencies from building up and you leave more headroom in the mix for everything else. You can have a louder mix that still sounds balanced.
The corner frequency matters. You cannot use the same setting for every element in your track. What works on synths might grab too much meat off your kick. High-pass your mix by removing frequencies below 40, 50, or even 70Hz. This depends on how low your low end goes. Remove those frequencies if they are not essential.
Step 2: Mono-ing Sub Bass Content
Put everything under 150Hz in mono. This solidifies the low end and avoids phasing issues that cloud clarity. Most club systems run in mono or have heavily mono-summed subs. That lush stereo bassline you love could vanish on a club rig if you don’t check it.
Keep everything under around 120Hz in mono. Low frequencies are non-directional. Listeners cannot perceive where they come from. Switch bass to mono and it makes a huge difference to the signal and energy of the track. Club music needs this.
Vinyl cutting requires mono low end or the cut will make the record skip. Mastering engineers used to cut vinyl and they mono-ised bass below around 100Hz. They did this whatever the original bass was.
You can widen the upper frequency ranges of bass using various techniques. Most engineers now use something like Ableton Utility which monos all low end under a specified frequency. The entire bass isn’t mono. Mono everything under 300Hz and then push upper harmonics into the sides.
Step 3: Controlling Kick Punch and Weight
High-pass everything that doesn’t need low frequencies. Then sweep EQs around 40-80Hz to carve space for the kick fundamental. The kick should have more sub frequencies than the bassline. Use a low shelf or high-pass filter on your bassline somewhere around 45Hz.
Energy between 90 and 120Hz gives you more impact in your chest. You may use a bit of the low while you avoid hot spots on the bassline and a bit of that punch together. Find a harmonic of the kick and boost that a bit if it has its own space. Add mid and high end to a kick and it stands out when played back on small speakers.
Step 4: Managing Bass Energy
Your low end will compete with the kick and make things muddy if it has too much attack. It will feel slow and lifeless if it lacks attack. Bass that comes in loud might need compression to have more density. The best way to get that is by having side-to-side compression. Insert two compressors both in parallel mode with wet/dry at 50%. This will condense the signal and make it thick and warm.
You can also add harmonics by using saturation. Tape saturation works well for low end. Bass isn’t always about bass. You often feel like you’re not getting enough low end. EQ in more 50 or 60Hz and it just ends up getting sluggish and muddy. You need good bass fundamentals down between 40 and 80Hz and good harmonic support in the two to three octaves above that.
Mastering Techno Step by Step: Mid and High Frequency Control
Mid and high frequencies define how your techno track translates across playback systems. Resonances hide in these ranges and clarity lives here. Subtle compression shapes the groove without destroying it.
Step 5: Identifying and Fixing Resonances
Resonances occur when specific frequencies magnify in an unnatural way and cause ringing or energy buildup. A resonant frequency often sounds like a whistle or ringing tone that doesn’t belong. The upper mid-range hosts the worst-sounding resonances.
Use the sweep and destroy method. Insert an EQ, take a narrow bell band and boost it around 12dB. Sweep across the frequency range while your problem section plays. The resonant frequency jumps out when you hit it. Flip the boost into a cut once you find it and adjust the Q until you remove only the problem without affecting surrounding frequencies.
Dynamic EQ outperforms static cuts when resonances appear only at certain moments. Set a cut that kicks in only when the resonance crosses a threshold. Place your node around the top of the frequency display as a starting point and then hold control and drag down until the resonance fixes itself. Dynamic processing attenuates relative to how loud the resonance is and creates more transparent results.
Step 6: Adding Air and Clarity
Boosting high frequencies around the 15-20kHz range using EQ adds air to your track. Use a shelf filter to magnify frequencies from 4kHz to 20kHz. A Baxandall high shelf works especially well to open up the top end.
Mid-side EQ delivers more precise results than stereo processing. Set your EQ to process only the side channel and use a low cut filter with 12dB slope at 40-50Hz. Boost 2-7kHz by 1dB or less with a Q of 1.0. Boost 7-12kHz a bit more and then use a shelf to lift everything above 12kHz. This increases stereo width while leaving center elements untouched.
Step 7: Creating Movement with Subtle Compression
Compression in mastering requires more nuance than in mixing. You apply it to the entire stereo mix and magnify its effect on overall sound. Compression shapes transients by manipulating the attack, decay, sustain and release envelope.
Not every track needs compression at the mastering stage. Compression creates sonic trade-offs and contains transients in favor of sustained energy. Then use it with clear intention, whether adding density, punch or tightening groove. Apply it with subtlety to create movement without audible pumping or loss of dynamics.
Mastering Techno Step by Step: Loudness and Dynamics
Loudness and dynamics are the final battleground in techno mastering. Limiters remain misunderstood tools, but gone are the days of pushing tracks as loud as possible. The goal centers on masters that sound loud while retaining dynamic movement.
Step 8: Setting Up Your Limiter Chain
Your limiter should be positioned last in the signal chain after EQ and compression work finishes. The output ceiling should be set to -0.3 dBTP. This leaves wiggle room for inter-sample peaks that occur even when you cap output at exactly 0dB. Spotify and Apple Music both recommend -1dB output to stream on their platforms.
Some mastering engineers use two limiters rather than one. The first limiter catches peaks with a fast attack time and fast to medium release. The second brings up loudness using slower attack to maintain transparency. This staged approach prevents any single processor from working too hard.
Attack settings determine transient response. Fast attack produces the cleanest sound without limiting distortion but weakens transients by a lot. Slow attack preserves sharp, snappy transients but introduces distortion. Finding the sweet spot between these extremes matters for each track. Loop your busiest section and push the limiter high. Then adjust attack slowly until clarity emerges without losing punch.
Release time shapes groove. Too fast causes pumping effects and distortion. Too slow reduces dynamics and decreases achievable loudness. Your limiter may offer lookahead. Enable it and the processor can detect and react to peaks before they arrive. Oversampling reduces distortion introduced by limiting but demands CPU resources.
Step 9: Achieving Competitive Loudness
Target -6 to -8 LUFS integrated for club-focused techno. Professional mastering standard sits at -8 RMS for most genres. House and techno can push into -6 to -7 RMS because these mixes contain less acoustic instrumentation. Streaming-focused masters land at -10 to -12 LUFS integrated.
Spotify normalizes to -14 LUFS, but dance music producers ignore this target because DJs want loud tracks and clubs need impact. Platforms normalize your track down and reduce volume without changing your mix. Controlled saturation, clipping, and compression introduced while achieving -6 LUFS stays in the quieter version and preserves character.
Step 10: Preserving Groove and Punch
Punch lives in the first milliseconds of a sound, not in overall level. Heavy limiting sacrifices punch whatever the result sounds like. Building loudness through multiple subtle stages beats aggressive single-stage processing.
Dynamics matter for techno. Compressors should be set so attack and decay pump and groove with the track. This enhances danceability. Back off gain reduction until this becomes subliminal. Very dynamic sub-bass should be avoided in techno since club subwoofers run at maximum with limiters engaged. Control your dynamics yourself rather than letting streaming service limiters truncate peaks.
Testing and Delivering Your Master
Your master needs validation before release. A/B comparison and system testing catch issues that processing in isolation misses.
A/B Comparing with Reference Tracks
Loudness matching are the foundations of effective referencing. Your mix sounds worse than the reference whatever the actual quality when the reference plays louder. This makes you fix problems that don’t exist. Use reference tracks in similar genres with matching low-end style. Run three focused passes: balance first (checking vocal and kick/bass relationship), then tone (overall color differences), and finally punch and space (transient impact and depth).
Checking Translation Across Systems
Test on headphones, car speakers and phone playback. Small speakers reveal whether core elements remain clear when bass disappears. Check mono compatibility since many club systems and portable devices lack true stereo separation. Bring reference tracks to these systems alongside your master to provide context.
Export Settings for Digital and Vinyl
Digital distribution requires 44.1kHz, 16-bit WAV files. Set your limiter ceiling to -1dB for streaming platforms and prevent distortion during lossy conversion[263]. Vinyl demands different preparation with targets around -18 LUFS.
Final Documentation
Name files with artist, title and sample rate details. Embed metadata including ISRC codes for royalty tracking.
Table of Contents
Conclusion
You now have the roadmap to understand how to master a techno track that can compete with professional releases. When learning how to master a techno track, the fundamentals remain consistent: build a solid low-end foundation with mono sub content and achieve loudness without destroying dynamics, while controlling resonances in the mids.
Mastering is a skill that improves over time, and knowing how to master a techno track properly requires practice and patience. Start with reference tracks and trust your ears at proper monitoring levels. The more you practice how to master a techno track, the more precise your decisions will become.
Your first few attempts at how to master a techno track might not hit the mark, but each version sharpens your skills. Keep experimenting with these techniques as you refine how to master a techno track. Over time, your music will translate better across club systems and streaming platforms.