House techno DJ mastering plays a vital role in your track’s club performance. The right LUFS level makes all the difference, and -10 LUFS stands out as the sweet spot to achieve balanced club sound. Different genres just need their own unique touch. Techno tracks usually sit between -8 and -6 LUFS in clubs.
Great mastering involves more than loudness levels. Your track’s presence in clubs suffers if your bass overpowers your mids by more than 4dB. Each electronic genre requires its own approach. Melodic techno shines with subtle midrange details at -7 LUFS, while bass-heavy genres can reach -3 LUFS without losing sharp transients. Let’s get into how to DJ techno by becoming skilled at these technical elements and find the best tools that optimize deep house techno DJ workflows to create truly club-ready sound.
1. What Is a DJ Mastering Suite and Who Is It For?
A DJ mastering suite is a specialized collection of audio processing tools that helps finalize electronic music for club playback. These suites differ from general mastering software because they focus on electronic dance music’s specific needs, especially for house and techno with their unique sonic characteristics.
Designed for house & techno producers
House and techno producers face unique challenges when they master their tracks. These genres depend heavily on powerful low-end presence, crisp high frequencies, and tight control over dynamics. A good mastering suite gives producers the tools they need to keep the punch while reaching competitive loudness levels.
The mastering process for minimal house usually follows a chain of five key elements. You’ll need two EQ stages – one to clean up frequencies and another to boost them. Then comes compression to control dynamics, tape emulation for warmth, and limiting for final loudness. These elements combine to create that signature club-ready sound that cuts through powerful sound systems.
The best mastering suites let DJs fine-tune the relationship between kicks and bass – these are the foundations of house and techno. They also help control harsh resonances that might cause problems when tracks play at high volumes.
Standalone vs plugin-based mastering tools
Producers must choose between standalone applications and plugin-based solutions in their DAW. This choice shapes their workflow and can affect the final sound quality.
Standalone mastering programs like iZotope Ozone work independently from the production environment. Many producers prefer these applications because they create a mental separation between mixing and mastering. This approach reduces CPU load on project files and offers a fresh point of view on the music.
Plugin-based mastering adds processors to the master bus inside the DAW. This method integrates smoothly with production workflows and allows automation options that standalone applications might not have. Many top house and techno producers use this approach because it’s convenient, especially during creative moments.
The technical differences between standalone and plugin versions of the same tools are minimal. The psychological boost from switching environments matters more than you might think. Producers often say that changing software helps them hear their tracks with fresh ears.
Best use cases for deep house techno DJ workflows
Deep house and techno DJs get the most from mastering suites when they prepare tracks for specific situations. Their workflow usually involves gain staging, compression, equalization, and limiting – each step fine-tuned to what the genre needs.
Deep house mastering aims to keep smooth, warm low-end while making sure midrange elements like chord stabs and vocal samples stay clear without harshness. Light saturation often adds that characteristic analog warmth to the genre.
Techno differs from other genres because mixing and production are closely connected. Successful techno producers know at least the simple mastering basics, since their sound design choices during production directly shape mastering possibilities later.
Deep house and techno workflows work best when you:
Create a preliminary master for personal testing
Test the master in different places (club systems, car stereos, headphones)
Make improvements based on ground playback testing
Professional releases usually benefit from specialized mastering engineers, especially for vinyl releases that need special attention. In spite of that, having your own mastering skills remains crucial for testing and performance preparation.
2. Mastering Workflow: From Mixdown to Club-Ready
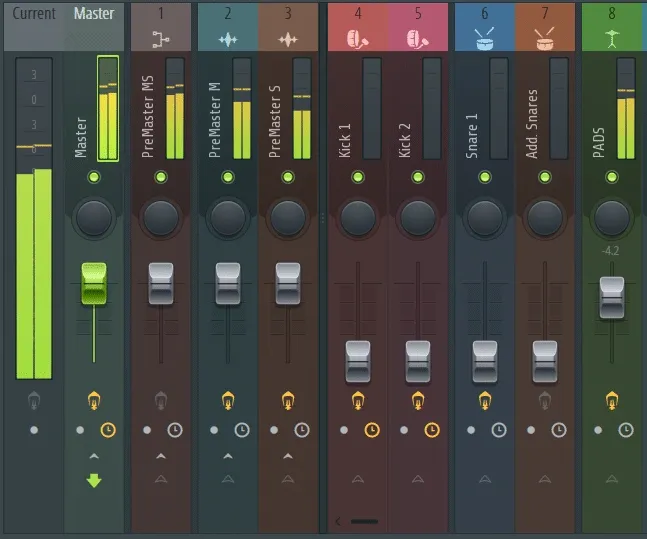
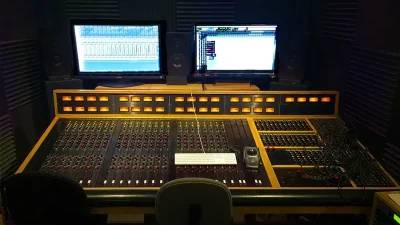
Image Source: EDMProd
Getting from a raw mixdown to a club-ready track means making technical decisions that affect how your music sounds on big sound systems. Mastering house and techno needs a step-by-step approach to hit that sweet spot between loudness and dynamics.
Gain staging and headroom setup
You need proper gain staging from the start to make all your processing work better. I listen to the entire mix first and note any balance issues. The first technical step reduces the overall level to create enough headroom.
Your mixdown’s output should be turned down to around -6dB to give you enough headroom for club-ready masters. This extra space lets you add processing without hitting the ceiling. A quieter starting point stops distortion that happens when audio processes max out the volume meter.
Club genres need different approaches. Deeper house tracks work well with 3-6dB of headroom. Bass-heavy techno might need up to 6dB to handle those powerful low frequencies. This headroom becomes vital with lossy formats because compression during encoding can lead to clipping and distortion.
New house and techno DJs often start with levels that are too hot. Digital recording doesn’t benefit from recording “hot” like analog did to beat tape hiss. A quiet digital recording gives your mastering processors room to do their job.
Using clippers and limiters in stages
A combination of clippers and limiters in stages works better than using one limiter to do everything. This method gives you competitive loudness without harsh artifacts while keeping your dynamics intact.
I start with a soft clipper to smooth out peaks while keeping important transients. A transparent limiter follows to shape the overall loudness. This staged approach stops the pumping effect in complex techno arrangements that single limiters can cause.
The processing order makes a big difference. Here’s a typical workflow:
EQ adjustments for balance
Soft clipping to control peaks
Compression for body and consistency
Final limiting for loudness
Modern house tracks need the clipper’s threshold just below the track’s peak transients. This light 1-2dB reduction keeps dynamics while taming the loudest peaks. Clipping can be a key part of your compression strategy – 1dB of clipping with 2dB of limiting often sounds cleaner than 3dB of limiting by itself.
LUFS and true peak targets for club play
Club play masters need specific LUFS (Loudness Units Full Scale) standards. Streaming platforms want -14 LUFS, but clubs need something different.
Most deep house and techno DJ productions aim for higher average levels to stay competitive. -10 LUFS hits the sweet spot for balanced club sound. Your tracks will compete with others while keeping enough dynamic range to make an impact.
Genre-specific targets look like this:
Bass-heavy house: -8 to -6 LUFS integrated
Minimal techno: Around -9 LUFS
Mainstream club tracks: -6 LUFS integrated
True peak levels should stay below -1 dBTP to avoid intersample clipping that distorts club systems. This matters even more with lossy formats in club settings.
Loudness isn’t just about overall level – it’s about density in specific frequency areas, especially the low end. Successful house and techno DJs know that proper balance means their tracks work well on club systems without DJs needing to adjust gains during sets.
3. Key Tools in the Suite: What Makes the Difference

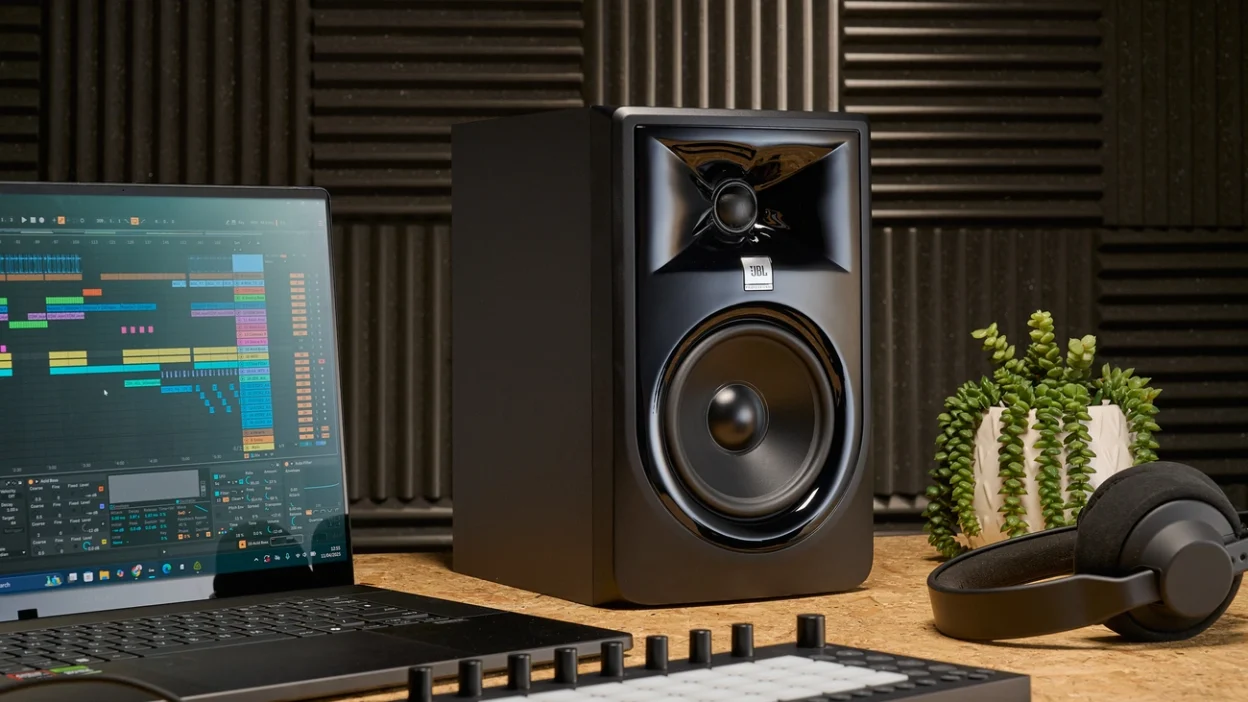
Image Source: Dreamstime.com
Professional DJ mastering suites need specialized processors that revolutionize club-ready sound. These tools help solve unique challenges that house and techno productions face on powerful sound systems.
Low-End Focus: Tightening kick and bass
The relationship between kick and bass creates the foundation of house and techno productions that work. Tools that focus on low-end target this significant frequency range, typically operating between 20-200Hz. Phase alignment is vital because phase issues between kick and bass elements can cancel each other out and create a weak, hollow low end.
Good low-end focus tools use several techniques at once:
High-pass filtering on non-essential bass elements
Frequency-specific sidechain compression
Harmonic enhancement that works better on smaller speakers
The sort of thing I love about dedicated low-end processors for deep house techno DJ productions is how they carve specific frequency spaces. Kicks often sit around 60-80Hz while bass occupies slightly higher ranges (100-200Hz). This prevents frequency masking and keeps the power intact.
Stabilizer: Taming resonances and harshness
Tracks played at club volumes often face resonance problems. Stabilizer modules automatically find and control these problematic frequencies through dynamic processing. Stabilizers only activate when resonances exceed a threshold, unlike static EQ, which preserves the overall tonal character.
The best stabilizers use dynamic EQ bands with customizable attack and release controls. These controls keep resonances in check without making the mix dull. Advanced suites show visual feedback that helps you spot resonant frequencies immediately, making precise adjustments easier.
Exciter and Imager: Adding warmth and width
Exciters blend synthesized harmonics to boost presence without increasing overall level. This subtle harmonic distortion adds that sought-after “analog warmth” that makes digital productions sound organic and full-bodied. A good excitation module lets you target specific frequency bands on their own.
Stereo imaging tools work alongside exciters to give you precise control over different frequency ranges’ width. Modern imagers offer separate processing of mid and side channels for better club compatibility. You can center low frequencies (typically below 100-200Hz) for mono compatibility and subtly widen higher frequencies to create space and depth.
These three specialized tools working together change good mixes into professional, club-ready masters that sound great on systems of all sizes.
4. Avoiding Common Mastering Mistakes
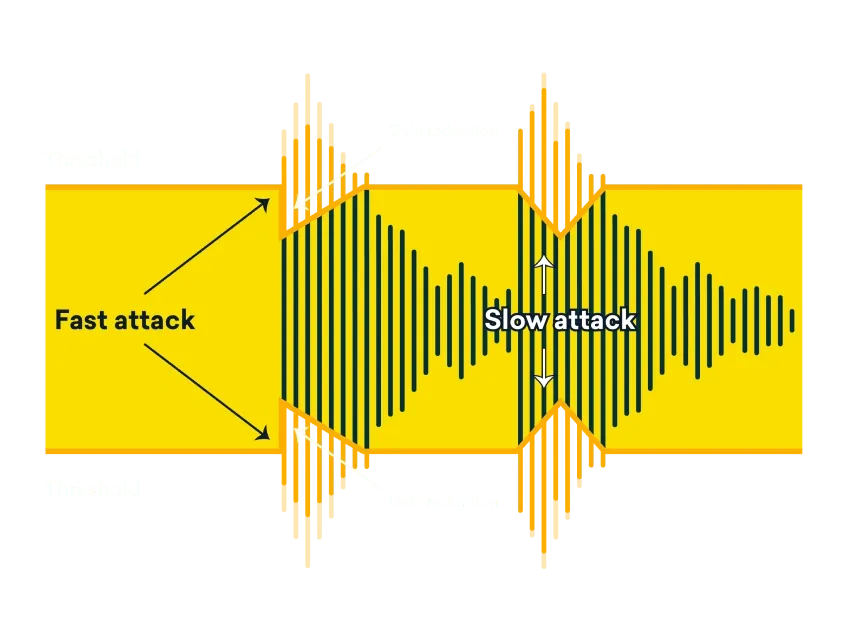
Image Source: LANDR
Technical pitfalls can undermine your house and techno productions, even when you have high-quality tools. Professional club sound requires you to understand these common mistakes.
Over-compression and loss of punch
Excessive compression is a common trap for aspiring house techno DJs. Aggressive compression with fast attack times clamps down on transient peaks and strips away the “punch” that gives tracks their energy and life. Your gain reduction meter should return to zero multiple times per bar. You’re likely over-compressing if it shows more than 6dB of reduction consistently.
Ignoring mono compatibility
Modern audio technology hasn’t eliminated the need for mono compatibility. Single-speaker systems can make significant elements disappear completely when club tracks lack proper mono compatibility. This effect is noticeable with sounds panned hard left or right, which lose approximately 3dB in perceived level when summed to mono.
Deep house techno DJ productions need mono checks during the mastering process. Low frequencies (below 100-200Hz) should stay centered. Testing your masters on mono systems ensures all elements remain intact.
Overcrowding the low end
House and techno tracks’ foundations are built on the low end, yet many mastering efforts struggle here. Kick and bass create a muddy, undefined bottom that lacks punch when they compete in the same frequency zone (especially between 50-80Hz). These tracks might sound loud but lose their impact on club systems.
5. Testing and Finalizing Your Master
The last phase of mastering needs thorough testing to make sure your track works in clubs. Your technical processing must meet professional standards, and these next steps will help you confirm that.
Using reference tracks effectively
The right reference tracks will guide you when finalizing masters. You’ll want lossless WAV files instead of MP3 or AAC formats because compression issues can make accurate comparison difficult. The best way is to pick tracks that match your tempo, genre, and arrangement to hit your target sound. Deep house techno DJ productions need references with matching instruments and energy levels.
Your track and references must play at the same volume levels to make good comparisons. Small volume differences can change how we hear things because our ears think louder sounds are “better”. You should match loudness exactly with metering plugins that show integrated LUFS values.
Testing on multiple systems
Your master needs testing on different playback systems. You’ll only know if your sound is club-ready when it sounds good on various systems. Test your track on studio monitors, headphones, car stereos, and small speakers to find hidden problems.
On top of that, it helps to listen at different volumes because lower volumes often show balance issues between vocals and bass. The top house techno DJs mostly work at moderate volumes and save loud listening for quick impact checks to protect their ears.
Final checklist before club release
Before you finish:
Take good breaks (days if possible) to reset your ears
Let trusted friends or audio engineers give honest feedback
Match it against commercial releases on streaming platforms
Check mono compatibility for club systems with mono switches
Listen at different volume levels
This checking process takes time, but it’s what makes the difference between amateur tracks and professional club music that sounds great everywhere.
Conclusion
My years of testing different mastering approaches have taught me that club-ready sound needs both technical precision and artistic feel. Loudness matters by a lot, but your track’s performance on powerful club systems depends on how well different frequencies work together. The sweet spot between -10 LUFS for balanced sound and genre-specific tweaks ends up being crucial to get professional results.
DJ mastering suites help tackle the unique challenges house and techno producers face. These tools definitely make a difference, especially when you’re working on crucial elements like low-end management, resonance control, and stereo imaging. In spite of that, the best masters come from producers who know that technical specs should serve the music rather than limit it.
Your workflow makes a huge difference too. Good gain staging, step-by-step processing, and thorough testing on multiple systems set pro tracks apart from amateur ones. You’ll see dramatic improvements by avoiding common mistakes like over-compression and muddy low end.
The real test of club-ready sound happens during the testing phase. Reference tracks become your sonic guide for balance and energy decisions. Your masters need checking on different playback systems to catch hidden issues that might surprise you later on a club system.
House and techno mastering takes patience, attention to detail, and never-ending learning. Modern tools are powerful, but your ears are still your best asset. Nothing beats the feeling of hearing your perfectly mastered track moving a dance floor. You’ll develop a natural feel for what works, mixing technical precision with your unique artistic vision.