Audio mastering techniques might feel daunting as you look at your finished mix. The process takes between one to four hours per song. Mix engineers focus on making individual tracks work together clearly, while mastering serves as the final optimization stage that prepares your song to share with the world.
Mastering engineers work with tools similar to mix engineers – EQs and compressors – but their goals differ. Our extensive testing of mastering approaches has revealed what truly works. Most streaming services normalize audio between -11 and -16 LUFS, and -14 LUFS stands as the default setting. This gives you space to create masters that breathe and punch. The process takes time, yet specific techniques like dual limiters or faster limiter release times can improve your sound quality and optimize your workflow by a lot.
This piece walks you through techniques that have delivered professional results in our studio tests this year. You’ll learn everything in mastering and see exactly how to enhance your productions.
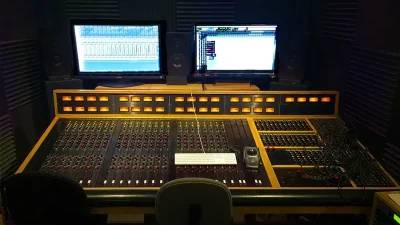
7 Mastering Techniques That Delivered Results in 2025
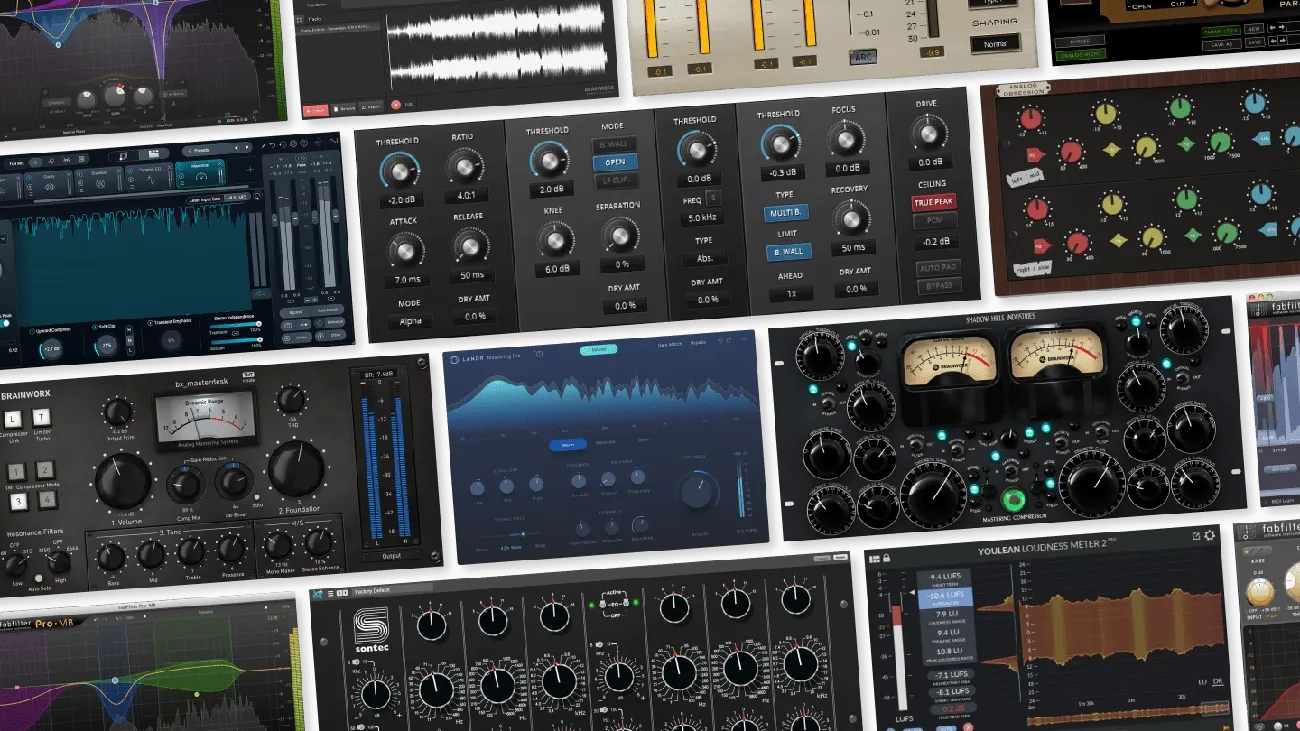
Image Source: LANDR Blog
Mastering engineers have refined their techniques throughout 2025. They focus on technical excellence and musical quality. Our testing shows these seven techniques deliver professional results with any genre or production style.
1. Dual Limiter Setup for Cleaner Loudness
The dual limiter approach splits processing between two limiters. Each limiter works less aggressively while achieving the same overall loudness. This preserves transient detail and reduces unwanted artifacts:
Insert your first limiter with 1-2 dB of headroom
Push this first limiter as hard as possible without distortion
Add a second limiter after it, setting its ceiling to at least -0.1 dB
Push the second limiter gradually to taste
This method stops any single plugin from working too hard. You’ll maintain quality even at competitive loudness levels. On top of that, it works better to have two good limiters doing lighter work than one limiter handling everything.
2. High-Pass Filtering the Side Image
A mid-side EQ to high-pass filter the side image creates focused, powerful low end in 2025. This makes mono bass while keeping stereo width in mid and high frequencies:
Set a high-pass filter on the side channel to approximately 130Hz with a 24dB per octave slope. This simple change reduces phase cancelation in the low frequencies. Your bass and kick become more driving and focused. This also helps your music sound consistent on different systems.
3. Multiband Expansion Between Limiters
Multiband expansion after compression or saturation brings out detail while maintaining control. This does two things well: it adds controlled dynamics back to masters and reveals hidden details in the compressed signal.
You can target specific frequency ranges on their own because it’s multiband. This boosts perceived clarity without sacrificing loudness. This technique works especially well with compressed material, making it perfect for modern productions.
4. EQ Matching to Commercial References
EQ matching has grown from a basic tool into a sophisticated reference technique. Modern plugins like Fabfilter Pro-Q and Tokyo Dawn EQs match your track to reference material precisely. The best results come from capturing the “flavor” of commercial tracks rather than making exact copies.
Pick references in your genre that have similar instrumentation. Every track is unique, but try to match within ±3dB across the frequency spectrum for comparable tonal balance. Many engineers find Ozone’s matching works best, with TDR coming in second. Pro-Q3 can be too precise for mastering sometimes.
5. Parallel Compression with Low-Level Boosting
This technique mixes heavy parallel compression with low-level enhancement. It adds body and power without squashing dynamics. Here’s how:
Create an auxiliary send at unity gain and add an SSL-style compressor with heavy gain reduction (around 16dB). Turn up the makeup gain substantially. Add a low-level compressor like Waves MV2 next, boosting gain by about 6dB. Mix this processed signal with your original as needed.
This brings up quieter parts of the signal. Subtle details become more noticeable, creating a fuller, more detailed sound without typical dynamic compression issues.
6. Fast Limiter Release for Transparency
Limiter release times make a big difference in transparency. Faster release settings in 2025 keep transient clarity while achieving competitive loudness. You need to balance this carefully—too fast causes distortion, too slow creates pumping artifacts.
Modern limiters like Ozone’s Maximizer offer special release curves. The new IRC5 curve works great with bass-heavy material. It improves on the older IRC2 mode with better processing that handles low-end content well, giving cleaner limiting without losing low-frequency impact.
7. Cross-Device Listening for Final Checks
No professional mastering engineer uses just one monitoring system. Understanding how people listen to your music helps you make it sound better everywhere. Testing on consumer-grade earbuds has become crucial because issues like sibilance often sound worse on earphones than speakers.
Room acoustics help spread out and reduce sibilance, which doesn’t happen with headphones. A great master sounds excellent on multiple playback systems—especially popular consumer equipment. This means you’ve created something that sounds good everywhere.
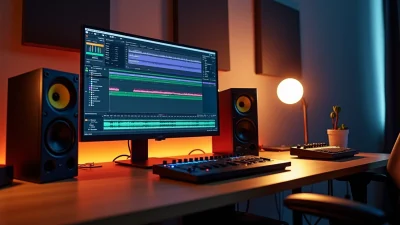
Mastering Basics: Tools You Actually Need
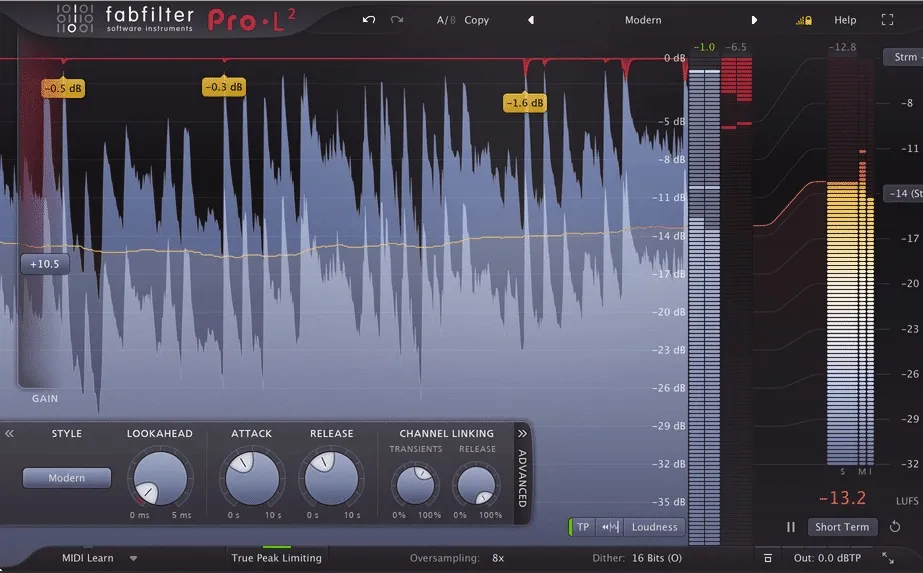
Image Source: Sage Audio
Your final product’s quality depends on choosing the right mastering tools. Better results come from focusing on basic tools and learning to use them well, rather than getting lost in countless plugins. Let’s look at what you actually need in your mastering toolkit.
Essential Plugins: EQ, Compressor, Limiter
Three core processors form the base of any mastering chain. An equalizer with surgical precision helps balance frequencies without coloration. FabFilter Pro-Q 3 excels at transparency and lets you make precise adjustments across the spectrum. Linear phase EQs are valuable at the time of mastering to prevent phase issues during broad adjustments.
A good compressor helps control dynamics and brings cohesion to your mix. Mastering works best with gentler ratios between 1.2:1 and 2:1. These ratios reduce dynamic range without destroying your track’s life. Attack times around 20-50ms will keep transients intact while smoothing overall dynamics.
The limiter plays a vital role by setting final loudness and preventing clipping. FabFilter Pro-L 2 and Oxford Limiter stand out because of their transparency and multiple limiting algorithms. The limiter should be your chain’s final plugin, with its ceiling set to at least -0.1dB to avoid digital clipping.
Optional Tools: Saturation, Stereo Imager, De-Esser
Some specialized tools can boost your masters beyond the basics. Saturation plugins add warmth and character. Tools like Slate Virtual Tape Machine give digital recordings an analog-like quality that brings them to life.
A stereo imager lets you control width across frequency bands. Ozone Imager, which comes as a free standalone plugin, offers subtle width enhancement. You should watch for phase issues on a correlation meter when working with stereo processing.
A de-esser helps tame harsh frequencies. FabFilter Pro-DS and Waves Renaissance DeEsser work well to control sibilance without affecting overall brightness. iZotope RX De-Esser gives you precise control over high-frequency management. De-essing in mastering should be subtle – you don’t want much of either or your master will sound dull.
Mastering Suites vs Individual Plugins
iZotope Ozone and similar mastering suites give you everything in one package. Their tools are designed to work together, from EQ and dynamics to stereo imaging in an accessible interface. Building a chain with individual plugins from different developers like FabFilter or Waves gives you more flexibility and customization options.
Suites offer convenience, but they’re not inherently better. Marketing often overhypes “mastering plugin” labels. The tools you know well usually give better results than chasing new options. Note that plugins should make your track better, not dominate it – use them to keep your mix’s natural dynamics.
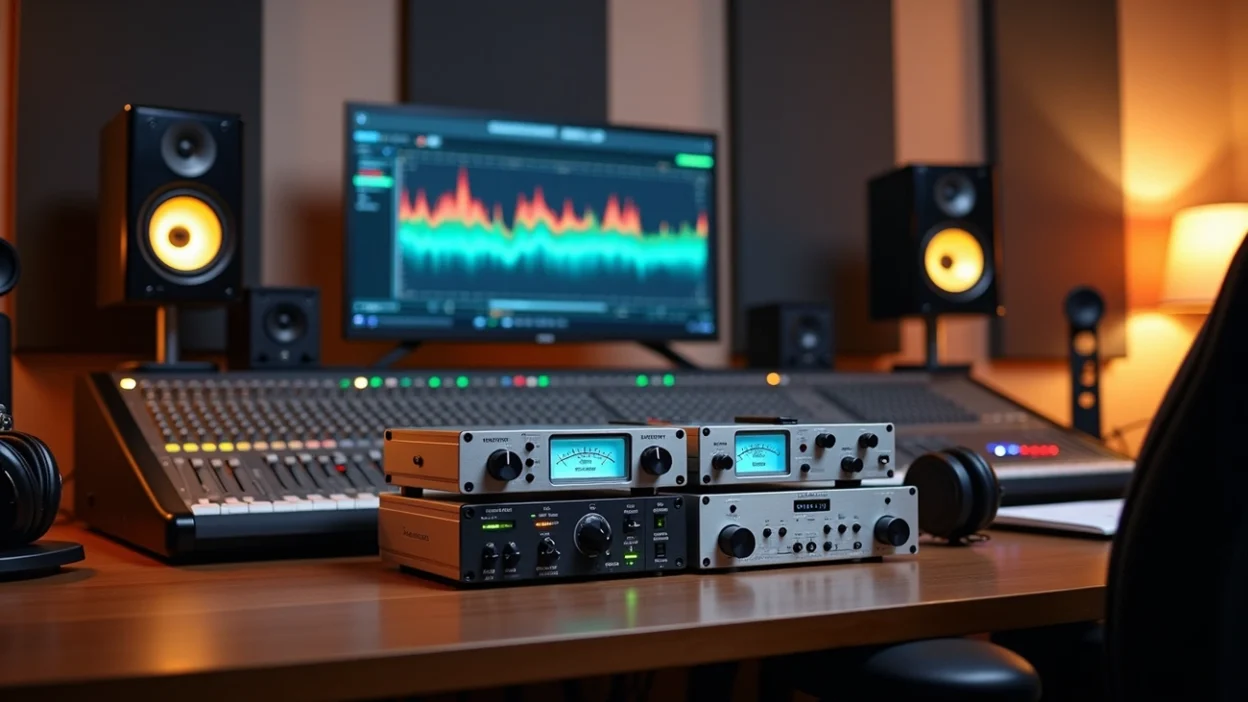
How to Set Loudness and Dynamics for Streaming
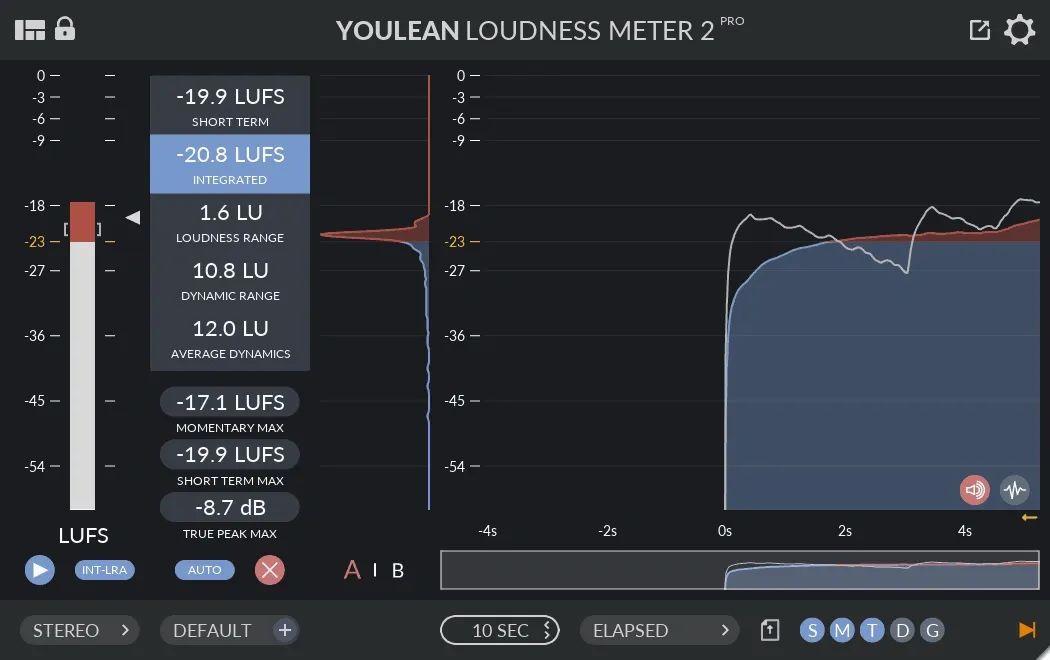
Image Source: Electronic Music Mixing Mastering
Getting the right loudness levels is now significant in the streaming era. Streaming platforms normalize audio differently, so knowing how to optimize your masters will give you good results across services of all types.
Understanding LUFS and True Peak
LUFS (Loudness Units Full Scale) measures perceived loudness rather than simple peak levels. It shows how human ears process sound. LUFS offers a standardized way to measure how loud your music feels to listeners, unlike older RMS measurements.
Different streaming platforms have specific loudness standards:
Spotify: -14 LUFS integrated
Apple Music: -16 LUFS integrated
YouTube: -14 LUFS integrated
Tidal: -14 LUFS integrated
Amazon Music: -14 LUFS integrated
Deezer: -15 LUFS integrated
True Peak monitoring plays an equally vital role because it accounts for inter-sample peaks that can cause distortion during encoding. Your limiter’s ceiling should be set to -1.0 or maybe even -2.0 dBTP to provide headroom. This prevents unwanted artifacts when your master converts to streaming formats like AAC or Ogg Vorbis.
Setting Levels with Limiters First
The first step is to set your limiter’s output ceiling, usually between -1dB and -0.3dB for streaming masters. Next, adjust the threshold to reach your target integrated LUFS level. Many prominent mastering engineers have found -9 RMS (roughly equivalent to -11 LUFS) gives an excellent balance between loudness and dynamics.
Bass-heavy material might need limiters with specialized release curves like Ozone’s IRC5, which handles low frequencies more smoothly. Before finalizing, test your masters through codec preview tools that simulate platform encoding effects.
Avoiding Over-Compression in the Loudness War
Over-compression removes dynamics and makes loud and soft sections sound similar. This strips your music of emotional impact. Excessive loudness serves no purpose now because streaming services normalize everything anyway.
These signs indicate over-compression: constant gain reduction without meters returning to zero, rectangular waveforms with no peaks or valleys, and loss of transient “punch”. Note that preserving dynamics creates more engaging masters that stand out after normalization. The key is to find the sweet spot between impact and breathing room.
Reference Track Workflow That Works
Professional audio mastering techniques rely heavily on reference track comparison. Your final master could suffer from serious flaws if you don’t have the right reference methods, even as an experienced engineer.
How to Level Match Your Master and Reference
Your master and reference tracks need matching perceived loudness before you can make any meaningful comparisons. This step can’t be skipped because our ears play tricks on us – louder audio sounds fuller in the low-end and clearer in high frequencies. Commercial reference tracks usually need about 9dB reduction to match your mix’s loudness.
LUFS metering helps you line up levels with precision. REFERENCE by Mastering The Mix takes care of matching perceived loudness with up-to-the-minute analysis, which eliminates the misleading loudness bias. You can also use gain plugins or utilities instead of dynamic processors to adjust levels.
Using Tonal Balance Control and Insight
Tools like iZotope’s Tonal Balance Control show you how your frequency balance matches up to references once the levels are matched. You’ll see target curves that show typical spectral shapes for different musical styles. Your track’s white EQ line should stay within 3dB of the target. Any difference beyond 6dB points to major tonal variations.
It’s worth mentioning that Tonal Balance Control needs 10-15 seconds to show your audio’s spectral content accurately. Insight offers different metering types that give you a complete picture of your master’s loudness profile – momentary (400ms blocks), short-term (3-second blocks), and integrated (entire playback).
When to Trust Your Ears vs the Meters
Meters are great guides, but your ears should make the final call. Most experienced mastering engineers start with meters to get baseline measurements and then fine-tune by ear. Many engineers can match levels by ear within 0.2-0.3 LU of what the meters show.
Your listeners care about how the music sounds, not what the meters say. Analyzers work best as verification tools, especially when your ears are tired or you’re doing final quality checks before delivery.
Finalizing the Master: Export Settings and Metadata
Your mastering work transforms into deliverable files that audiences will hear during the final export phase. The right technical settings will give your sonic decisions faithful translation on all platforms.
Dithering and Bit Depth Considerations
The process of reducing bit depth (like 32-bit to 16-bit) requires applying dithering to prevent quantization distortion. The addition of minimal noise randomizes truncation errors and creates smoother background hiss instead of harsh artifacts. This becomes significant for CD masters that need 16-bit output. Note that dithering should happen only once at the final output stage because multiple passes accumulate noise.
Adding ISRC Codes and Metadata
ISRC codes are unique 12-character identifiers that track usage and royalties for specific recordings. The important metadata has sample rate, bit depth, track title, artist name, and composer credits. Many platforms automatically assign ISRCs for streaming distribution, while physical media may need manual embedding. Some mastering DAWs like WaveLab can embed codes directly into WAVs or DDP images.
Exporting for CD vs Streaming
CD production requires 16-bit/44.1kHz files with appropriate dithering. Streaming platforms accept 24-bit files without dithering requirements. The true peak levels should stay between -1.0dB and -0.3dB for streaming masters to prevent encoding artifacts. Creating separate masters optimized for each medium’s technical requirements works better than using one-size-fits-all settings when exporting for both formats.
Conclusion
Mastering blends both art and science. It needs technical precision and creative intuition to work well. Our tests in 2025 showed that these seven techniques give professional results in any genre. The dual limiter approach has become a great way to get competitive loudness while you retain control over clarity and punch.
Quality EQ, compressor, and limiter are the foundations of any mastering chain. Their real power lies in how you use them. Small tweaks work better than heavy processing, especially now that streaming platforms normalize everything.
Streaming has revolutionized mastering standards. The -14 LUFS target ended up stopping the loudness wars. Now we can focus on keeping dynamics instead of pushing volume to the limit. This works better for engineers and listeners.
Reference tracks are vital signposts in the mastering process. The level-matching steps we talked about earlier will give a fair comparison. This helps you avoid thinking louder always sounds better. Trust your ears first, but use meters to get objective feedback.
Technical details like dithering, metadata, and export settings might seem boring. They determine how well your sonic choices reach listeners. These need just as much attention as the creative side of mastering.
Our studio results prove that good mastering balances technical precision with musical feel. The best masters boost what’s already in the mix rather than making big changes. A great master should sound like your mix at its finest – more unified, polished, and competitive – while keeping its character and emotional power intact.