You’ve probably wondered why your techno tracks don’t hit as hard as professional releases, even with a mastering rack. I’ve faced this too. Techno mastering pushes loudness levels much higher than pop or rock music (-5 LUFS or higher), and achieving this without crushing your mix needs techniques many top producers keep private.
Professional mastering in Ableton relies on more than just limiting – it combines a glue compressor with makeup gain and soft clipping. This approach pairs well with proper spectral analysis using tools like SPAN to measure LUFS, which creates that polished sound we chase. Building an effective Ableton mastering rack doesn’t need expensive plugins. Free tools can deliver professional results when used properly.
A wise producer once said, “For every problem that you solve, you’re adding three new problems”. This rings especially true when trying to fix mix issues during mastering. Our powerful tools help, but semi-parametric and analog-modeled EQs often work better because they have “predefined points that historically sound really good”.
Maximum loudness with subjective dynamics requires mixing into some mastering chain from the start. This piece breaks down a complete mastering rack setup and explores top techno producers’ signature sound while revealing the vital techniques that will revolutionize your productions.
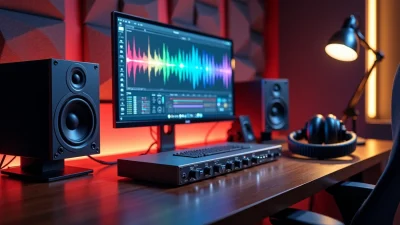
What Is the Ableton Mastering Rack and Who Is It For?
An Ableton mastering rack is a custom collection of audio effects in a single container. We designed it to polish and finalize music tracks. These racks combine essential mastering tools like EQs, compressors, saturators, and limiters into one cohesive unit with simple controls that streamline your workflow.
Designed for Techno and Electronic Producers
Techno producers face unique mastering challenges. The genre needs higher loudness levels and specific frequency characteristics. Many mastering racks help you achieve sounds as with renowned artists like “Dax J, Oscar Mulero, JakoJako, Adam Beyer, Fjaak, Ben Klock, Rodhad” and others. These specialized tools let producers quickly adjust bass weight, mid presence, and high-end clarity—all vital elements in techno productions.
These racks are a great way to get genre-specific results. To cite an instance, many techno mastering racks come with macro controls for “more pressure or dynamic” that can transform a flat mix into something club-ready. On top of that, it includes creative presets like “Punchy Hights,” “Stereo Rytm,” or “Hype Bass” that go beyond traditional mastering into sound design territory.
Why Use a Mastering Rack in Ableton?
A mastering rack gives you several key benefits over applying individual effects:
Simplified workflow: You can control essential parameters through 8-12 macro knobs instead of juggling multiple plugins
Consistent results: Predefined chains ensure your tracks maintain a professional sound across projects
Focused decision-making: Limited controls prevent overwhelming options that lead to poor choices
Time efficiency: You can dial in your desired sound without rebuilding complex chains each time
More importantly, mastering racks give you a systematic approach to learning. One sound designer points out that beginners can “gain experience in a more systematic way”. This framework helps understand how different processes interact and prevents producers from making “huge, crazy dips and notches” that create more problems than they solve.
It’s worth mentioning that mastering racks work best for “final loudness push and maybe like a tiny bit of gentle rebalancing”. They won’t fix fundamental mix issues—you should address those at their source. So before applying any mastering rack, your mix should sound balanced with about “6db headroom“.
Free vs Paid Mastering Chains
You’ll find both free and commercial mastering racks in the market. Free options use “only stock plugins” with “no expensive third-party VSTs required”. These racks, like the “Riemann Techno Mastering Chain” or various creator-shared presets, are excellent starting points that cost nothing.
Paid options like “MASTER™” by HELLBOUND! or “What About: Ableton Mastering Chains” pack more refined presets, advanced routing, and specialized techniques from professional producers. These commercial racks usually include 10-20 professionally designed presets targeting specific genres or sonic characteristics.
The main difference isn’t quality—many free racks deliver professional results. The difference lies in specialization and convenience. Paid options often include more genre-specific presets, detailed documentation, and sometimes additional tutorials. All the same, as Julian from Production Music Live notes, effective mastering needs “simple gentle moves”, which you can achieve with free tools.
Whatever path you choose, the best mastering rack helps you make informed decisions rather than applying mysterious processing. The goal stays the same: enhance your mix without changing its character or creating new problems.
Step-by-Step Breakdown of the Ableton Mastering Rack

Image Source: Yahoo
Let’s analyze the components that make a mastering rack work well for techno production. You’ll learn how each element helps create masters that stand up against commercial releases.
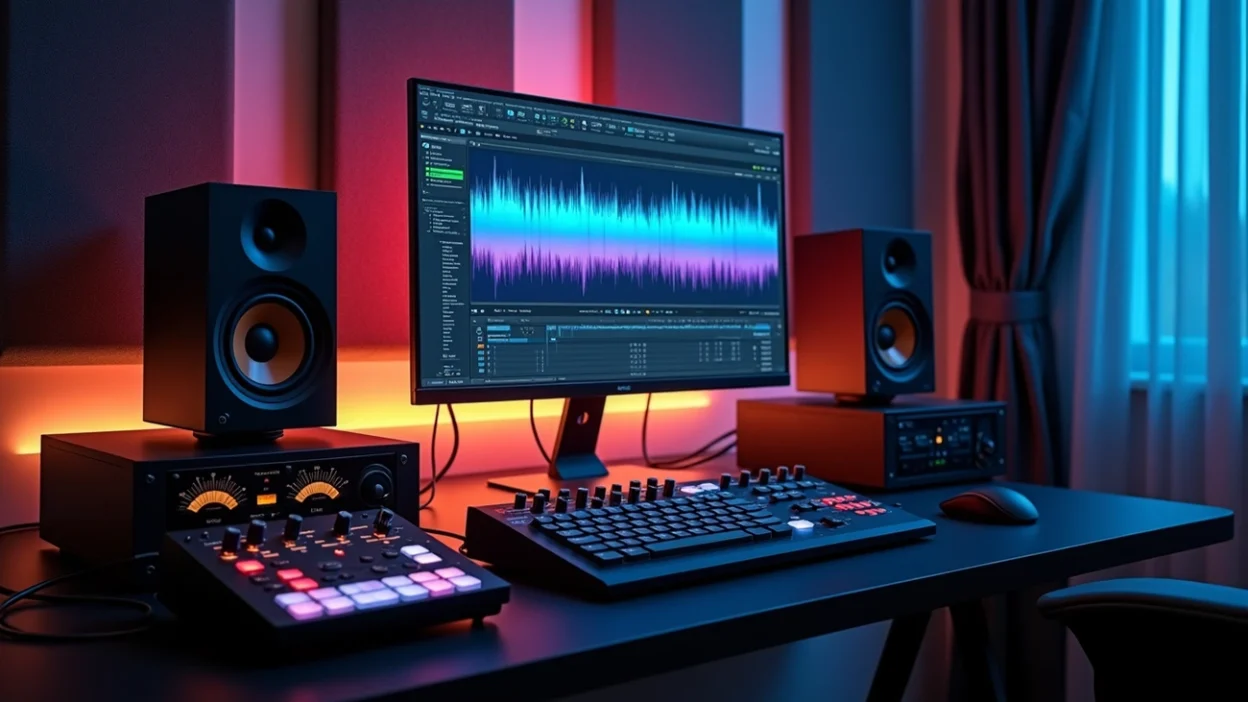
1. Voxengo SPAN: LUFS and Spectrum Monitoring
SPAN sits at the end of my mastering chain and monitors the final output before it reaches streaming platforms. This free FFT analyzer gives you detailed spectral analysis and significant LUFS measurements. You can customize the display mode, set Fourier block size, and adjust FFT window overlap percentage in SPAN.
SPAN really shines when you master techno tracks because it shows the frequency balance across the spectrum. You can display spectrums from different channels at once, which helps spot problems. The true peak clipping detection also catches problematic peaks that might distort after conversion to streaming formats.
2. Glue Compressor: Soft Clipping and Loudness Push
Ableton’s Glue Compressor with “Soft” setting enabled works better than relying on a limiter to push loudness through makeup gain. This gives you gentle compression while soft clipping the signal, creating a more unified sound than aggressive limiting.
My techno tracks usually need 2-3 dB of gain reduction with slower attack times (around 30ms) to keep those transients intact. Fast release settings maintain energy and punch. The sidechain high-pass filter set around 70-80 Hz stops the kick from taking over the compression behavior. This creates balanced dynamics throughout your mix.
3. Channel EQ: Gentle Analog-Style EQ Moves
Ableton’s Channel EQ beats more surgical options like EQ Eight at the mastering stage. Channel EQ mirrors analog hardware with preset points that “historically sound really good”. These smooth curves make it hard to create problematic resonances that often come with dramatic EQ adjustments.
Channel EQ’s semi-parametric design prevents those “huge, crazy dips and notches” that often cause more harm than good. Premium hardware versions of similar EQs cost thousands of dollars because their gentle curves let you make musical adjustments without harsh artifacts.
4. Saturator: Adding Harmonics Without Overdoing It
Ableton’s Saturator in Analog Clip mode comes after the EQ and adds subtle harmonic enhancement. This step creates perceived loudness through harmonics while keeping similar signal levels.
The magic lies in careful input and output level balance. Saturation works throughout the mastering chain and sounds better than just compression and limiting. A touch of saturation adds that “expensive studio” analog character. This works great for techno tracks that need extra grit and warmth.
5. Limiter: Final Loudness and Ceiling Settings
The limiter caps off the mastering chain with subtle limiting. Manual release time around 18ms works better than Ableton’s default “auto release” setting for techno tracks. Faster settings might boost loudness but risk distortion. Slower settings sound smoother but might pump.
The ceiling value of -0.3 dB matters a lot. This stops intersample peaks – those hidden peaks that limiters miss and can push past 0dB, causing distortion on some systems. Streaming platforms need different settings – both Spotify and Apple Music want -1dB.
Mixing vs Mastering: Fixing Problems at the Source
A track’s mastery starts well before anyone touches the mastering rack. Most critical decisions should be locked in place at the time a mix reaches the mastering stage. The most sophisticated mastering tools can’t perform miracles on fundamentally flawed mixes, though many producers still hope they will.
Why You Shouldn’t Master a Bad Mix
Deep-seated mix problems like clipping, poor EQ balance, or awkward panning decisions need fixing at their source. Mastering engineers might try to hide certain defects through selective equalization or compression. Audio problems like clipping become permanent once they’re recorded into your audio.
Mastering should be the final polish—not a chance to remix. Many producers wrongly see mastering as a magical fix-all solution. This approach creates more problems than it solves. Heavy saturation or clipping on the mix bus severely limits what mastering can achieve.
Professional engineers call poor low-end definition the absolute destruction of a mix. A muddy mess of kick and bass elements makes even the finest mastering rack useless. Mastering engineers can tweak overall tonality, but they can’t separate individual tracks once they’re baked into a stereo file.
When to Go Back to the Project Instead of the Master Bus
You should return to your project file if:
Your waveforms show visible clipping distortion
Your mix sounds dramatically different across monitoring systems
Your low end lacks definition or clarity
You notice harsh bursts around 3-4 kHz or excessive sibilance
Your monitors “pop” when playing bass frequencies
Proper preparation to master means leaving adequate headroom—typically between 3dB and 6dB below 0. This space lets mastering engineers apply processing without introducing distortion. Setting your true peak level to -6dB will give your audio protection from clipping during conversion.
Mastering can’t turn a badly mixed track into a professional release. Mix and master quality share a symbiotic relationship—quality mastering enhances a good mix, but even the most sophisticated mastering rack can’t save a poor one.
Real-World Use: Mastering a Techno Track in Ableton
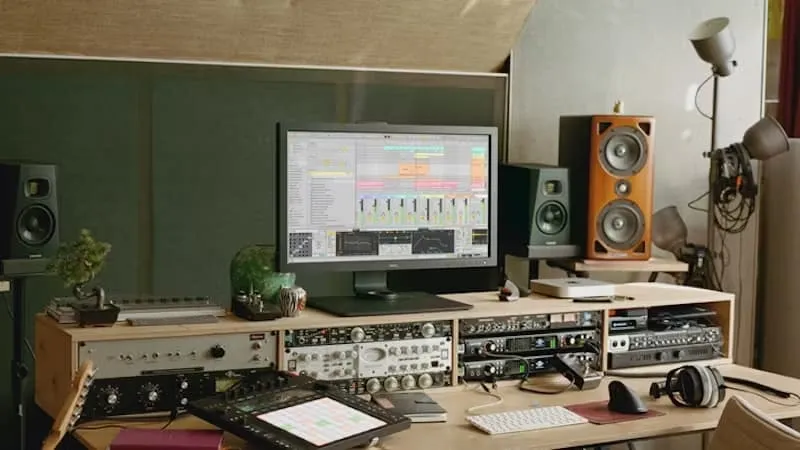
Image Source: Samplesound
Let me show you what happens when we apply our mastering rack to a techno track. A good master should boost—not radically change—the qualities already present in your mix.
Before and After: What Changes in the Master?
The mastering process adds that final 5% polish to your track. You’ll notice a slight loudness boost and gentle tonal rebalancing. Your techno track should keep its core character while reaching competitive loudness levels (around -10 LUFS works best for club music). The bass becomes tighter, transients get slightly tamed, and high frequencies stay controlled without harshness.
How to Reference Tracks During Mastering
Reference tracks guide you through the mastering process. The first step is to match your reference levels with your track. This step is vital since small volume differences can dramatically change how you perceive the sound. Here’s how to do this effectively:
Import references directly into your Ableton project
Create clips featuring different sections (beats, breakdowns)
Route references to bypass your master chain
Use metering plugins to ensure consistent loudness
Yes, it is better to know your reference material deeply than to have many tracks you rarely listen to. A careful selection of 2-3 references will serve you better than 25 random ones.
Mono Compatibility and Club Readiness
Club systems typically sum frequencies below 100-200Hz to mono. This makes mono compatibility essential for techno tracks. Check your master in mono and make sure key elements stay present when collapsed. Your kick, bass, and melodic content between 200-800Hz need strong mono representation.
The best club-ready techno tracks avoid harsh highs above 10kHz that can sound aggressive on big systems. They maintain a balanced low-end that doesn’t overpower the mids by more than 4dB.
Common Mistakes to Avoid with Ableton Mastering Racks
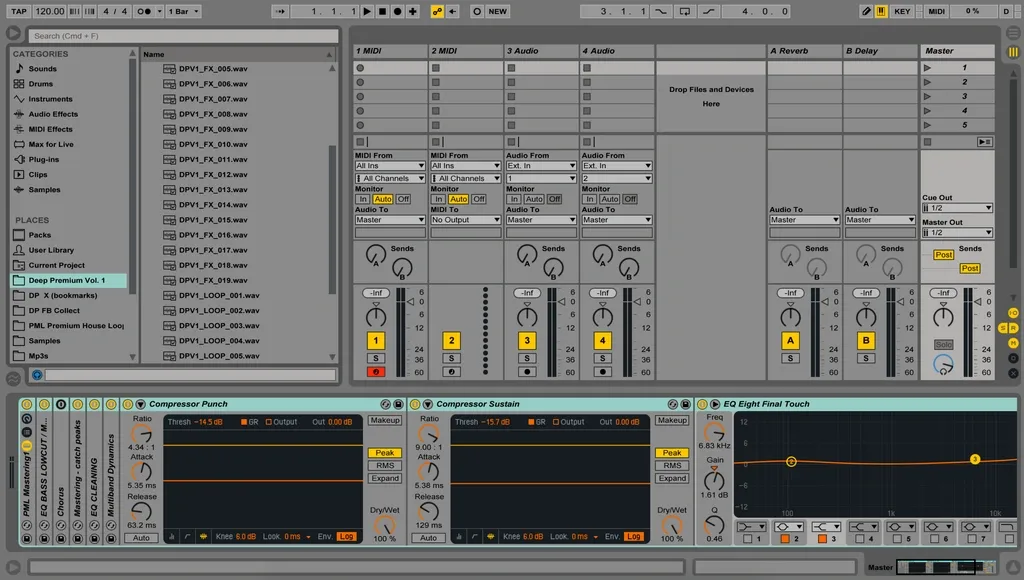
Image Source: Production Music Live
Even experienced veterans make serious errors with processing chains. These typical pitfalls can ruin otherwise solid mixes. The good news is that they’re easy to avoid once you know what to look for.
Over-EQing and Creating Resonances
Making dramatic EQ adjustments during mastering often leads to spectacular failures. Steep bell curves with “huge, crazy dips and notches” create new resonances—fixing one problem introduces three new ones. Gentle shelving and subtle bell adjustments produce better results. EQ should never boost more than 8dB during mastering. Low shelves generally work better than aggressive low cuts that cause phase shifting.
Relying Too Much on Limiting
Ableton’s stock limiter sounds “pretty horrible” on default settings. The auto-release function makes unpredictable changes that hurt sonic quality. Fast release settings boost loudness but distort quickly, while gentle settings sound more forgiving but can create pumping effects. Setting a proper ceiling of -0.3dB stops intersample peaks from exceeding 0dB and causing distortion. Note that loudness doesn’t equal quality—mix balance matters more than extreme limiting.
Ignoring Low-End Cleanup
Poor low-end definition ruins techno mixes completely. You should EQ frequencies below ~25Hz and above ~19kHz since they eat up valuable headroom without being audible. Raw sub-frequencies create problems when kick and bass elements combine, which leads to muddy, undefined low-end. Proper sidechaining between kick and sub bass adds punch and clarity. Most low-end problems need fixing at the mix stage—trying corrections during mastering creates more issues than it solves.
Conclusion
My deep dive into Ableton’s mastering process for techno tracks has taught me that you’ll get professional-level results from subtle tweaks rather than heavy processing. This journey has shown how a well-laid-out mastering rack will boost the final 5% of your track without changing its core sound.
Mastering should be your final polish—not a chance to remix or fix basic mix problems. Your mastering process actually starts while mixing, which will give you proper headroom and balanced frequencies. So producers who fix issues at their source get substantially better results than those hoping mastering will work miracles.
The five-part mastering chain we got into (SPAN, Glue Compressor, Channel EQ, Saturator, and Limiter) has everything you just need for competitive techno masters. Restraint is still your best friend here. Small, careful adjustments usually work better than heavy processing, especially when you have EQ and limiting.
You should always check your masters against reference tracks and test mono compatibility to make sure your productions are club-ready and sound great on any system. This approach helps you avoid the common traps of over-processing, too much limiting, and messy low-end.
While prominent mastering racks offer convenience and special presets, free tools can sound just as professional when used right. The real secret isn’t expensive plugins but knowing how gentle processing works and respecting how mixing and mastering work together.
Mastering techno tracks ended up needing both technical skills and artistic restraint. Try to boost what’s already there instead of changing your mix at the last minute. This balanced approach—mixing soft clipping, subtle EQ moves, and careful limiting—will raise your productions to professional levels while keeping their core character and energy intact.