Mastering for Beatport requires precision, especially when Beatport currently supports over 30 electronic music genres. But choosing the wrong approach could bury your track among hundreds of other daily releases before anyone gets to hear it.
We’ve created this piece to walk you through the essential Beatport audio specs and mastering requirements you need to know. You’ll learn what Beatport expects and how to meet their technical standards. You’ll also discover how to make your tracks stand out in the competitive field of electronic music distribution.
What is Beatport and Why Mastering Matters
Understanding Beatport’s Platform
Beatport operates as the world’s largest music store for DJs and has supported artists and labels since 2004. The platform serves over 100K+ artists and 120K+ labels. It functions as a download store rather than a streaming service. DJs purchase individual tracks here to play in their sets at clubs and festivals on large sound systems.
The revenue model is different by a lot from typical streaming platforms. A single Beatport sale at USD 1.49-USD 2.49 generates more revenue than thousands of streams. Beatport income can exceed streaming revenue by a lot for producers working in DJ-focused electronic genres. The platform also allows users to purchase lossless files at a higher price point, which translates to more revenue for artists.
Beatport requires distribution through approved channels for access. Independent artists can reach the platform through self-service distribution partners such as TuneCore, DistroKid and MusicHub. Artists can also sign tracks to labels that have Beatport distribution, though this involves a royalty split of 40-60% to the artist.
Why Beatport Has Specific Requirements
Beatport provides high quality audio files to DJs who perform on professional sound systems. Every frequency imbalance, distortion, or technical flaw becomes magnified when your track plays through club or festival speakers. This reality drives Beatport’s stringent quality standards.
The platform accepts tracks only in stereo format at 44100Hz / 16 bit. Supported file formats include WAV, AIFF and FLAC. These uncompressed or lossless formats preserve audio data without degradation and maintain the original recording’s integrity.
Beatport might reject your track if you submit one that doesn’t meet audio quality standards. Your track won’t be available on their platforms once rejected. This eliminates potential sales and exposure to their global DJ community of 15 million users.
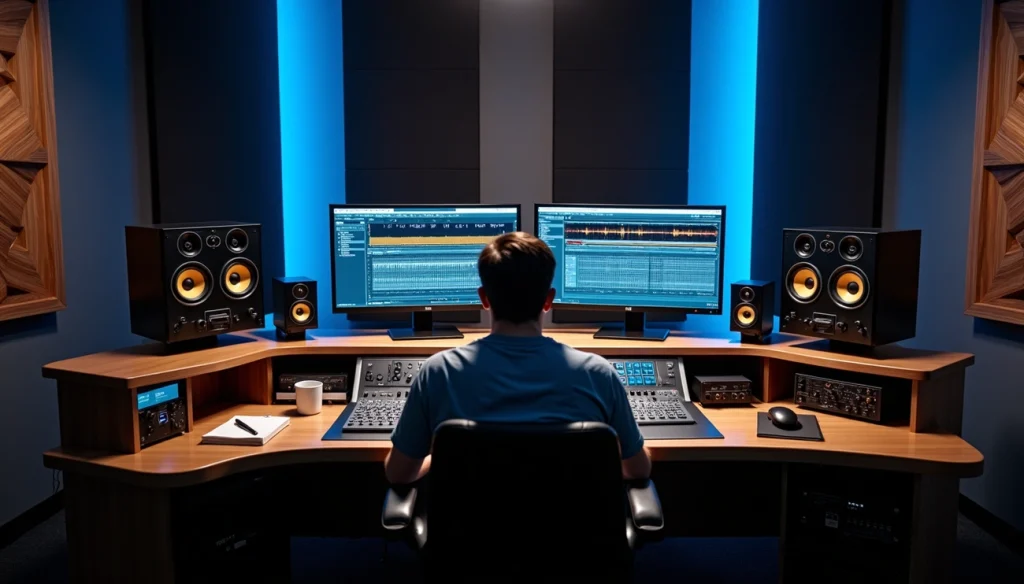
How Mastering Affects Your Track’s Success
Mastering serves as the final stage in music production and brings listeners closer to your music by creating a stronger sense of connection. The process polishes your recording while preserving your original artistic intent. Mastering engineers lift dynamics and balance frequencies through techniques like equalization and compression, resulting in a more engaging listening experience.
Even the best compositions may get lost in the mix without proper mastering and fail to tap into their full potential. Tracks could sound quieter on platforms or vary between playback devices. DJs often play tracks in sequence, so your music needs to match the volume, dynamic range and quality of other releases in the same genre.
Professional mastering increases commercial viability in the competitive electronic music market. Labels, playlists and radio stations prefer tracks that exhibit high-quality production values. This preference affects your chances of success, as properly mastered tracks attract more attention and get played more.
Mastering also optimizes your audio for different distribution formats. The process handles file conversions while preserving audio quality and ensures your track sounds its best on platforms of all types and devices. Mastering becomes non-negotiable for electronic music destined for club play. The process creates the final quality check before your music reaches the sound systems where it comes alive.
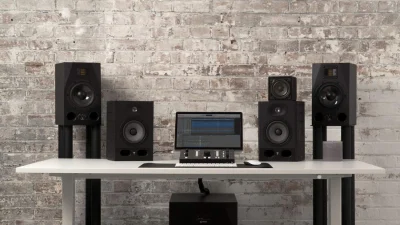
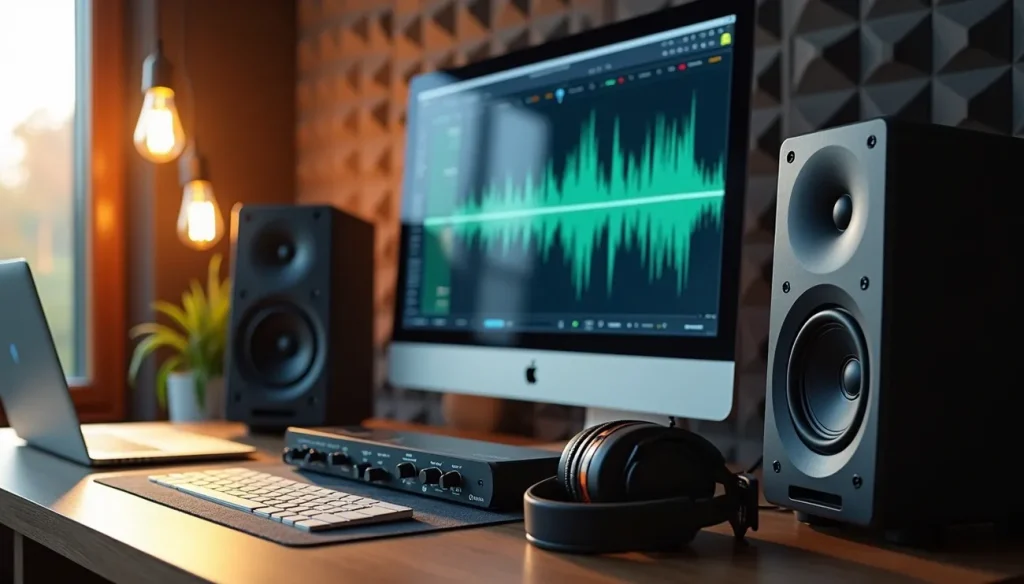
Beatport Audio Specs and Technical Requirements
File Format Requirements
Beatport accepts WAV, AIFF, and FLAC file formats for audio submission. These represent the professional standards DJs need for club playback. WAV and AIFF qualify as uncompressed lossless formats that retain all audio data without compression and result in larger file sizes but superior sound quality. FLAC offers compressed lossless audio and maintains original recording quality while reducing file size.
WAV files lack metadata support, so track and artist information won’t display in DJ software. AIFF files solve this problem by including full ID3 tagging capability and allow organization of tempo, key, artist and album information. Beatport offers AIFF as a preferred option because metadata and artwork come embedded in the download.
Sample Rate and Bit Depth Standards
Submit files at 44.1kHz minimum sample rate. Beatport accepts up to 48kHz, though 44.1kHz remains the industry standard for most electronic music releases. Higher sample rates don’t translate to better sound quality for dance music, especially when the target playback systems operate at standard sample rates.
Bit depth specifications allow either 16-bit or 24-bit audio. Most distributors recommend submitting 24-bit files because they provide more headroom during the mastering process. But 16-bit represents the final delivery format DJs receive and matches CD quality standards that work for club systems.
Loudness Standards (LUFS)
Streaming platforms normalize playback toward target loudness, measured in LUFS. Spotify recommends -14 integrated LUFS, Apple Music targets -16 LUFS, and YouTube, Tidal and Amazon Music all use -14 LUFS. Tracks louder than these targets get turned down, while quieter tracks get turned up within available headroom.
Beatport doesn’t specify LUFS targets because DJs control volume during performance. Many mastering engineers find a sweet spot around -9 RMS, equivalent to about -11 LUFS. This level provides enough sonic energy for club effect without sacrificing dynamics. Pushing loudness beyond reasonable limits matters less on Beatport than maintaining dynamic range that translates well on large sound systems.
Peak Levels and Headroom
Set your limiter output ceiling to -1.0 dB true peak. This headroom prevents inter-sample peaks that break through 0.0 dBFS and cause problems during format conversion. Some engineers use -2.0 dB true peak when mastering louder tracks to provide additional safety margin.
So avoid mastering right up to 0 dBFS. Peaks below 0 dBFS stay below 0 dBFS, but peaks at 0 dBFS create distortion when converted to MP3 or other lossy formats. Beatport sells both lossless and 320kbps MP3 versions, so your master needs to survive format conversion without introducing artifacts.
Stereo Width Requirements
Beatport requires all submissions in stereo format. Mono tracks get rejected. Beyond meeting this simple requirement, stereo width becomes an artistic decision during mastering. Bass frequencies stay centered to maintain power on club systems, while mid and high frequencies can occupy the stereo field for width and dimension.
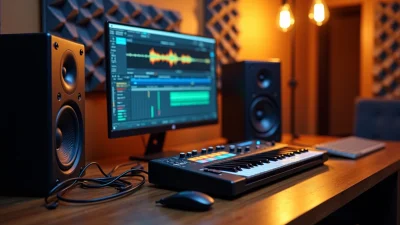
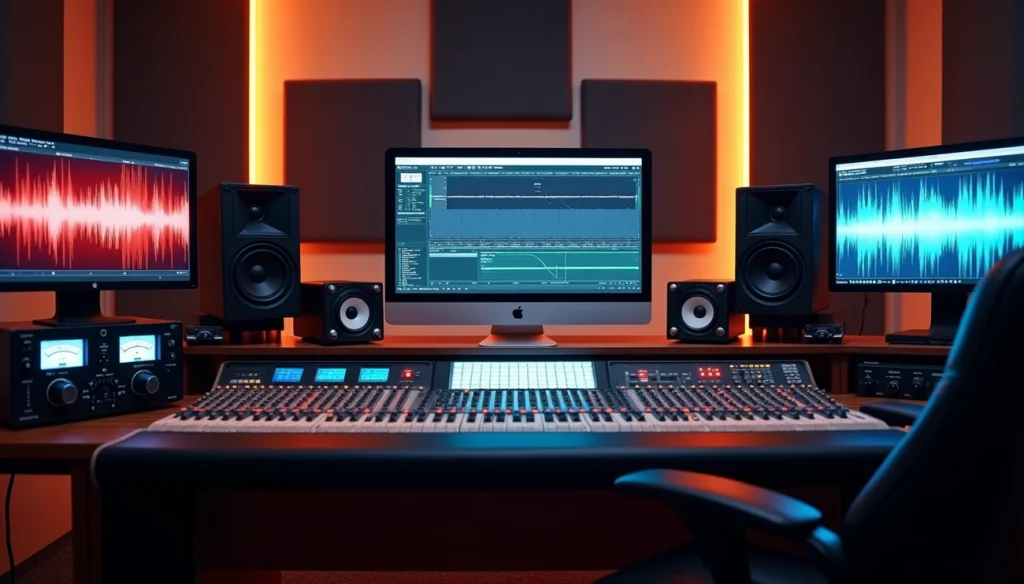
Step-by-Step Mastering Process for Beatport
Proper preparation determines whether mastering for Beatport succeeds or fails before you touch a single plugin. Focus first on creating the optimal starting point for the entire mastering chain.
Step 1: Prepare Your Mix for Mastering
Leave at least 2 to 3 dB of headroom on your rendered file. Use a gain plugin on your master channel and adjust peak levels to anywhere between -3dB and -6dB. Remove any mix bus compression and digital limiting before exporting. Distortion in the source file cannot be fixed during mastering.
Keep your mix quieter than -16 LUFS and retain dynamic and loudness range. Export as 24-bit WAV with the same sample rate as your original project session. Leave dithering off when exporting your mix.
Step 2: Set Your Loudness Target
Many mastering engineers find a sweet spot around -9 RMS, equivalent to about -11 LUFS. This level provides enough sonic energy for club effect without sacrificing dynamics. Your true peak level should stay below -1 dBTP, with some engineers using -2 dBTP for extra safety.
Focus on the relationship between loudness and dynamics rather than hitting exact LUFS standards. Streaming services might turn your track down, which doesn’t hurt the song at reasonable mastering levels.
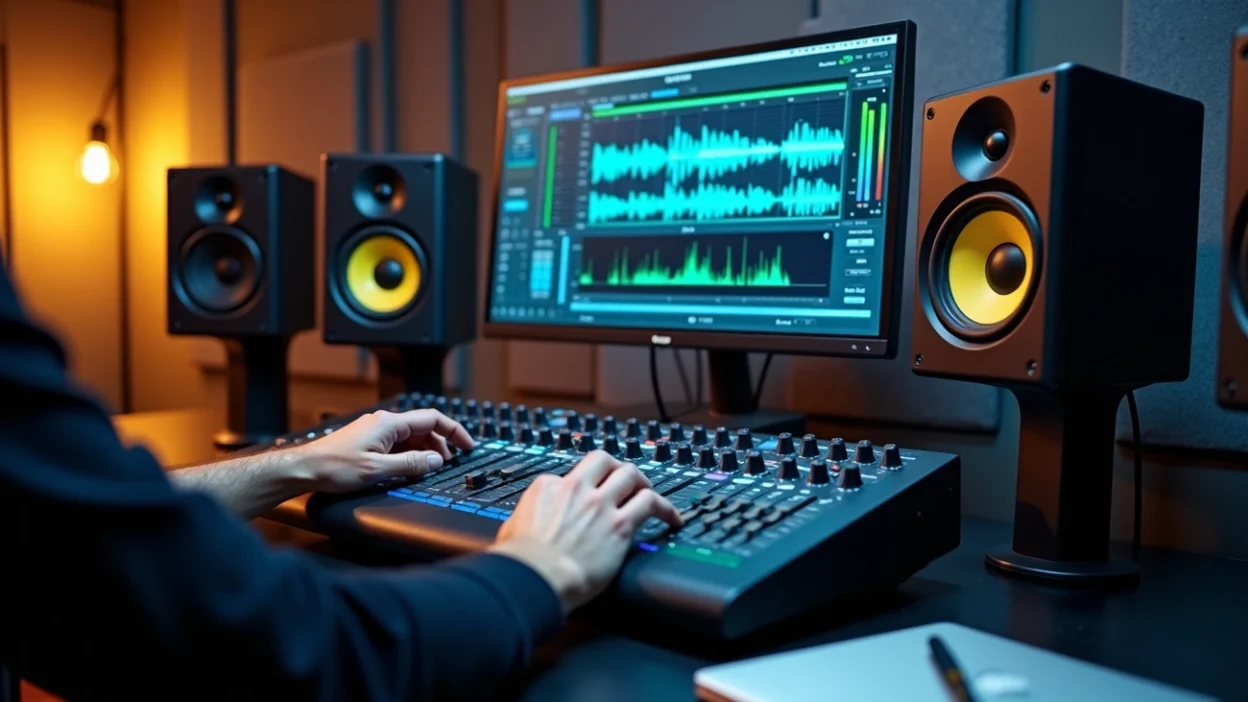
Step 3: Apply EQ and Frequency Balance
EQ restores clarity in a mix and achieves tonal balance that allows music to translate on playback systems of all types. Use broad bandwidth settings for mastering, as wide scope affects overall tonal balance rather than individual instruments. Subtractive EQ opens more doors to transparent processing while retaining mix fidelity.
Make adjustments of 1 dB or less in scale. Address low-end buildup using low-shelf EQ or highpass filters. Reference your master against mastered tracks in your genre and guide tonal balance decisions.
Step 4: Compress and Control Dynamics
Set your ratio between 1.2:1 and 2:1 for subtle, transparent compression. Adjust the threshold and achieve 2-3dB of gain reduction. Use attack times of 20-50 milliseconds and allow transients to pass through, with release set to work with the track around 100-200 milliseconds.
Target about 0.5 dB of gain reduction during the loudest parts while staying below 1 dB. Leave makeup gain at 0 dB and remove loudness bias. Use soft knee for gradual and smooth compression.
Step 5: Add Final Limiting
Place your limiter as the final stage of your mastering chain. Set the output ceiling to anywhere between -1.0 and -0.1 dBFS and avoid intersample peaks. Apply no more than 2 dB of gain reduction and achieve commercial loudness. Use intelligent release control technology that adjusts release times to your audio’s characteristics.
Step 6: Check in Mono and Test on Multiple Systems
Mono checking reveals comb filtering that occurs when two tracks occupy the same frequency range and sit out of phase. The stereo dimension gets removed when you collapse to mono, helping you identify what still needs adjustment. A mix that sounds balanced in mono will only sound better when you add stereo. Test your final master on car speakers, small radios and club systems to ensure versatility on different playback environments.
Genre-Specific Mastering: Techno Standards
Techno mastering just needs specific attention to frequency distribution that club sound systems expose without mercy. The relationship between kick and bass defines whether your track translates on large speaker arrays.
Kick Drum and Low-End Balance
Low frequencies divide into distinct zones that serve different purposes. The 30-60 Hz range delivers physical impact you feel more than hear. Most techno kicks dominate this area, especially sine-shaped or 808-style variations. The body sits between 60-90 Hz where kicks overlap with basslines and create potential muddiness if you leave it unmanaged. The 90-120 Hz zone provides punch and presence that translates on smaller speakers.
Filter everything at 20 Hz using a 24 dB/octave slope. This removes inaudible rumble that consumes headroom without contributing audible bass. Put everything under 150 Hz in mono. Club systems run mono or heavily mono-summed subs, so stereo basslines could vanish on professional rigs.
Apply EQ carving by attenuating frequencies in one element to create space for another. If your kick peaks at 50-60 Hz, cut that range on the bassline. Use narrow bell curves with Q values between 2-4 and start with cuts of 2-4 dB. Sidechain compression triggered by the kick reduces bass volume for a moment and allows each kick hit to punch through.
Hi-Hat and High Frequency Clarity
Hi-hats need careful level management. Amateur mixes push them too high and create harshness when mastering brings up the top end. Set hi-hats around -20 dB as a starting reference. High-pass filter hi-hats around 300 Hz to remove unnecessary low frequencies that cloud their natural brightness.
Maintaining Energy Throughout the Track
Energy comes from rhythmic speed rather than pure loudness. Loop speed that increases from one bar to half bar intervals drives forward momentum. Hi-hat patterns that accelerate from quarter notes to eighth or sixteenth notes intensify perceived energy.
Arrangement Considerations for DJ Mixing
Techno tracks get designed with layering and space in mind. Evolving loops and hypnotic grooves with repetition you think over allow DJs to blend multiple tracks at once. Start with simple drum elements and introduce bass, then add melodic content. Structure breaks where heavy drums drop out before they return. End with outros that fade to simple drum elements and give DJs clean mixing points into the next track.
Common Mastering Mistakes and Quality Checks
Mistakes during mastering for Beatport can render your track unplayable on professional systems. These pitfalls will protect your work from rejection if you understand them.
Over-Limiting and Distortion
Overcompression crushes dynamics and results in flat, lifeless sound that loses emotional peaks and valleys. You cannot reverse distortion and overcompression burned into your track. Loudness pushed too far results in distortion, clipping and listener fatigue. Prevent inter-sample peaks that cause clipping when converted to MP3 by leaving 0.3-1dB of headroom. Beatport sells both lossless and lossy versions. Your master must survive format conversion cleanly.
Frequency Imbalances
Problem frequencies pile up at 200-250Hz and create boomy or muddy sound. Harshness appears around 2.7kHz, while boxiness affects the 400-1000Hz range. Recent trends show 8-12kHz harshness becoming more common. Reference your master against commercial releases to identify these imbalances before submission.
Phase Issues
Phase problems occur during mastering when frequencies interact incorrectly. Stereo bass sounds create risks because phase conflicts destroy low frequencies. Elements with substantial low-end content should stay in mono. Parallel processing tracks should be checked in both normal and reversed polarity to identify which version produces better results.
Pre-Submission Checklist
Your file must meet 44100Hz / 16-bit stereo requirements. True peak levels should stay below -1.0 dBTP. Your master needs testing in mono and on multiple playback systems. Reference tracks in your genre will help you compare loudness and tonal balance.
Table of Contents
Conclusion
You now have everything you need to approach mastering for Beatport with confidence and precision. By understanding the full chain of mastering for Beatport, from correct sample rates like 44.1kHz to maintaining true peak levels below -1.0 dBTP, you are already ahead of many producers who overlook these essential details. Proper mastering for Beatport is not just about loudness—it’s about clarity, translation, and impact on real club systems.
When working on mastering for Beatport, always remember that balance is everything. A clean EQ ensures that each frequency has its place, while controlled compression adds energy without destroying dynamics. This is the foundation of professional mastering for Beatport, especially in techno where punch and groove are critical. Tracks that succeed in mastering for Beatport are the ones that hit hard but still breathe.
Avoiding mistakes is just as important as applying the right techniques. Poor mastering for Beatport often comes from over-limiting, excessive stereo width in the low-end, or ignoring headroom. Keep your bass tight and mono, preserve transient impact, and never sacrifice punch for loudness. Successful mastering for Beatport means knowing when to stop processing as much as knowing what to apply.
Another key part of mastering for Beatport is testing. Always check your track across multiple systems—studio monitors, headphones, car speakers, and even small devices. Great mastering for Beatport translates everywhere, from underground clubs to streaming platforms. If your track works in all environments, your mastering for Beatport is on the right path.
Consistency also plays a huge role in mastering for Beatport. Whether you’re releasing one track or an entire EP, maintaining a coherent sonic identity is essential. Professional mastering for Beatport ensures that all tracks feel unified in tone, loudness, and energy, which is crucial for DJs and listeners alike.
In a competitive techno market, strong mastering for Beatport can be the difference between a track that gets ignored and one that gets played. Labels, DJs, and listeners all expect a high standard, and proper mastering for Beatport helps you meet those expectations without compromise.
Apply everything you’ve learned about mastering for Beatport, stay disciplined in your approach, and keep refining your ear. The more you practice mastering for Beatport, the more intuitive it becomes. Over time, your workflow will become faster, your decisions sharper, and your results more consistent.
Ultimately, mastering is the final step that defines how your music is perceived. With the right approach to mastering for Beatport, your techno tracks won’t just meet platform requirements—they’ll stand out, hit harder, and leave a lasting impression on every system they’re played on.r music deserves to be heard on those club speakers.