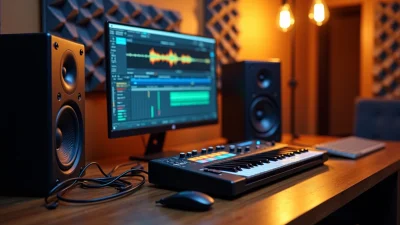
Mastering techno in your home studio has never been more accessible. Today, mastering techno home studio setups allow producers to achieve professional, club-ready results without needing expensive studios. Over the last several years, bedroom producers have proven they can create tracks that translate powerfully on large sound systems when the mastering techno home studio process is done correctly.
The real challenge with mastering techno home studio is understanding how to prepare your tracks for massive PA systems while working in a limited acoustic environment. Club systems amplify every detail, meaning your mastering decisions must be precise, controlled, and intentional. This is why learning proper mastering techno home studio techniques is essential if you want your tracks to compete with professional releases.
Hitting the right loudness targets remains one of the most critical aspects of mastering techno home studio. Many experts consider around -10 LUFS as a balanced reference point, while more aggressive masters can reach between -8 and -6 LUFS integrated for maximum impact. However, loudness alone is not enough. A successful mastering techno home studio approach focuses on preserving dynamics to maintain punch, clarity, and energy on the dancefloor.
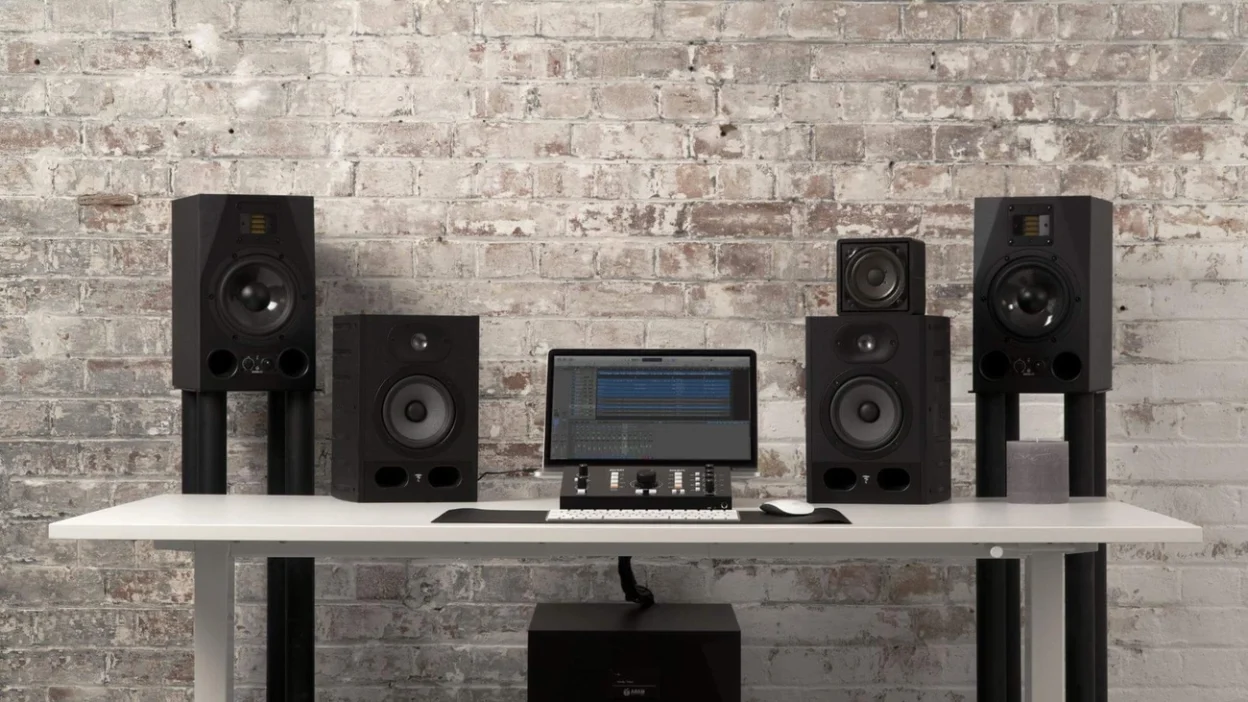
Another key factor in mastering techno home studio is monitoring accuracy. Even in a small room, using proper speaker placement, basic acoustic treatment, and reference tracks can drastically improve your results. Comparing your work against professional tracks helps ensure your mastering techno home studio decisions translate well outside your studio.
We will guide you step by step through the full mastering techno home studio workflow. From preparing your mix and setting optimal gain staging, to applying EQ, compression, limiting, and final loudness optimization, every stage matters. You’ll also learn how to test your master on different systems to ensure true club readiness.
By mastering these mastering techno home studio techniques, you can consistently produce tracks that sound powerful, clean, and ready to hit any club system with confidence.
Understanding Mastering for Club Systems
Mastering Techno Home Studio: What Makes Club Systems DifferentWhat Makes Club Systems Different from Home Studios
Club PA systems operate on a completely different scale compared to home studio monitors. These systems deliver bass more effectively and bring out low-end details that might seem restrained or even weak when played back on typical home monitoring setups. The sheer power of club speakers reveals the finer nuances in your low frequencies. This means overcompressed bass will sound flat and potentially drown out the rest of your mix.
Most professional club systems roll off around 35 Hz. High-quality venues use subwoofers that cut off at approximately 33 Hz -3dB. This matters because your deepest sub frequencies will hit around E1 at 41.2 Hz. Club systems run subwoofers at maximum levels all the time. Controlled bass management at the production stage becomes needed.
Studio monitors move a fraction of the air that PA speakers displace. Pattern control is quite different between the two. PA speakers project sound in large spaces, while reference monitors focus on accuracy in near-field listening environments. Then what sounds balanced in your home studio might translate differently when magnified through a club’s powerful rig.
LUFS Targets for Techno and Tech House
Mastering techno at home requires understanding professional loudness standards. The typical target for techno tracks is around -8 to -6 LUFS, though actual practices vary among established artists. Richie Hawtin’s productions hover around -10 LUFS per track. Claude VonStroke pushes to -6 LUFS, while Deadmau5’s “Strobe” sits at -12 LUFS.
Peak levels should never exceed 0 dBFS to prevent distortion. DJs handle loudness correction using gain knobs on mixers. Modern digital players more and more include automatic gain adjustment. This means crushing your track to compete with loudness becomes unnecessary. Streaming platforms normalize to -14 LUFS, but club-focused techno productions routinely exceed this threshold.
Target your integrated LUFS around -8 to -6 for maximum club effect. Allow momentary peaks to fluctuate naturally without pushing past your overall loudness ceiling. The Loudness Range (LRA) for loop-based dance music with steady beats typically falls between 3-4 LU. Tracks with more variation see 6-12 LU as good.
Why Dynamic Range Matters in Electronic Music
Dynamic range prevents listener fatigue and preserves the emotional effect of your track. EDM typically maintains the smallest dynamic range, often around 6 dB. This doesn’t mean you should eliminate all dynamics. Techno producers commonly achieve around 10 DR (dynamic range) before mastering.
Over-compression squashes dynamics and makes tracks sound lifeless despite achieving high loudness levels. The low-end especially benefits from retaining natural dynamic range. The pulse of your beat becomes drowned out, distorted and muddy if you don’t allow sufficient headroom. Bass frequencies need space to breathe, particularly since club systems magnify these ranges.
Use multiband compression instead of full-spectrum limiting to maintain energetic sound. Apply higher compression ratios in the bass area while reducing them slightly in volume. Lower the ratio as frequencies increase to preserve dynamics. This approach keeps transients intact while achieving competitive loudness levels. You won’t sacrifice the natural energy that makes techno tracks engaging on the dancefloor.
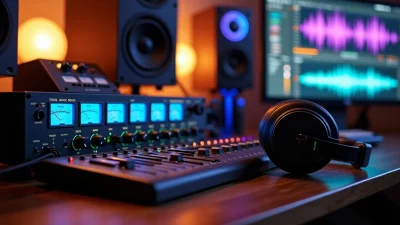
Setting Up Your Home Studio for Mastering
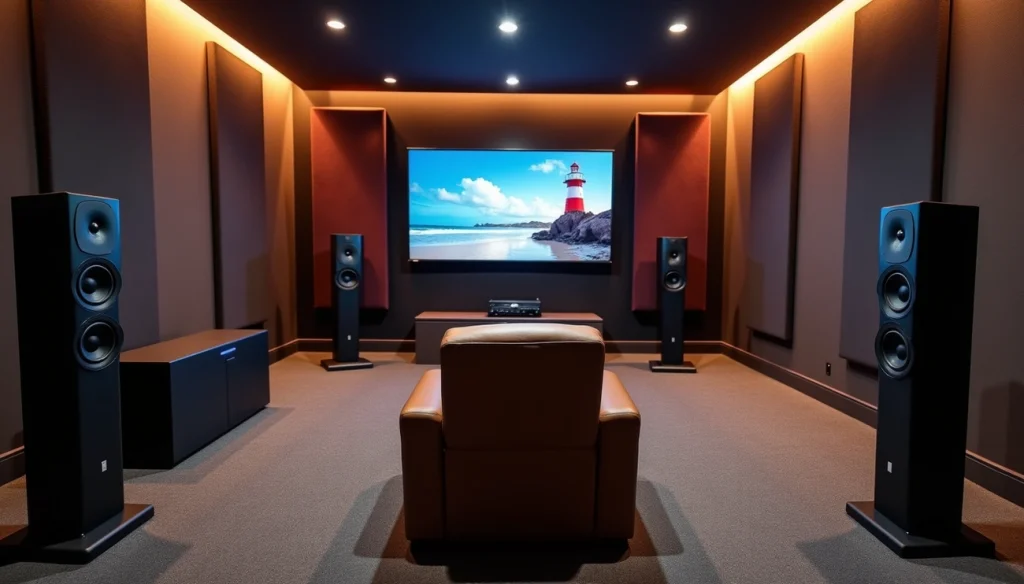
Your monitoring environment shapes every mastering decision you make. Address the space where you’ll be working before processing a single frequency.
Acoustic Treatment and Monitoring Essentials
Identify specific room problems before applying any treatment. Test tones and sweeps reveal problematic frequencies and positions where issues show up most. Common culprits are excessive reverb, standing waves, bass buildup and flutter echoes.
Treatment follows identification. Absorption panels work best at first reflection points, where sound from speakers reflects directly toward your ears. Bass traps control low-frequency buildups in corners where these frequencies congregate. Diffusers scatter sound energy rather than removing it and create a more even sound field.
Balance matters more than quantity. Over-treating creates an unnaturally dead space that misleads you just as much as excessive echo. The room should feel alive while remaining transparent and allow decisions based on music rather than room characteristics. You want at least 30% coverage on your dead end wall with broadband absorbers. Install absorbers 5 to 10 cm away from walls to increase their effectiveness at low frequencies.
Budget-friendly solutions exist for home mastering electronic music. You can construct DIY bass traps and absorption panels with common materials. Bookshelves filled with books and furniture placed strategically serve as simple diffusers and absorbers. Position monitors 10-60cm away from the wall behind them to reduce standing waves.
Monitor calibration forms the basis for confident mastering decisions. Calibration solutions capture room frequency response via measurement microphone and then generate custom EQ curves applied through plugins or hardware. This compensates for unusual frequency boosts or dips imposed by your space.
Reference Tracks Selection and Usage
Choose reference tracks within the same genre that match your sonic characteristics. Platforms like Beatport and Bandcamp offer high-quality formats. Use WAV or AIFF files to hear all mix nuances without artifacts from lossy formats. At minimum, use 320kbps MP3.
Know your reference material well. Having 2-3 tracks you always use is more beneficial than 25 listened to occasionally. You’ll understand how they sound on your speakers and why they represent quality mixing. This knowledge helps you recognize problems when using other monitoring systems.
Level matching removes loudness bias. We see louder music as clearer and punchier, which misleads comparisons. Match perceived loudness between your mix and references before making any decisions. Loop the loudest section, usually the chorus, for accurate comparison. Focus on frequency range balance, stereo spread and punch relative to references.
Creating a Mastering Chain Template
Proper headroom in your mix comes first. Around 6dB headroom is recommended, meaning your master channel should display maximum -6dB without the mastering chain. This prevents clipping on individual track channels and provides space for mastering processing.
Build your chain using stock plugins if needed. A simple mastering tech house template has EQ for frequency shaping, saturator for warmth, multiband dynamics for independent frequency control, glue compressor for cohesion and a limiter for final loudness. This structure works well for mastering tech house tracks in any DAW.
Adjust input gain so your first compressor shows some gain reduction. Turn the high-pass rumble macro up until bass starts disappearing, then reduce it slightly. This allows tracks more volume and impact by removing unnecessary sub-bass energy. Balance bass, mid and high macros according to taste while comparing against reference tracks.
Technical Steps to Master Your Techno Track
Follow a systematic approach to become skilled at tech house and techno tracks. Each step builds on the previous one and transforms your mix into a club-ready master.
1. Analyze Your Mix and Check for Issues
Your entire track needs a listen before you apply any processing. Pay attention to peaks and overlapping frequencies, especially when you have kick and bass interaction. These cause problems at the time limiters engage later. Minor clicks and pops become more noticeable after mastering, so apply short fades of 5 to 15 milliseconds to clip starts and ends on vocal tracks. Check edit points with care.
2. Balance Your Frequency Spectrum with EQ
A gentle high-pass filter around 20 to 30 Hz removes sub-bass rumble and frees up headroom. Broad Q bandwidths work best for mastering EQ. Keep adjustments around 4dB or less. Larger corrections indicate mix problems better addressed before mastering. A slight high-shelf boost around 10 kHz adds air and presence. Cut problematic frequencies in the 200 to 500 Hz range if muddiness appears. Visual analyzers help identify issues, but trust your ears over meters.
3. Control Dynamics with Compression and Limiting
You should work without a limiter first so you hear what compressors do. Multiband compression gives better results than single-band limiting for techno because it prevents kick drums from triggering limiting across the entire frequency spectrum. Higher compression ratios work well in the bass area. Reduce the ratio as frequencies increase to keep dynamics in higher bands. Aim for 1 to 3 dB of gain reduction in mastering compression. Attack times between 5 and 15 milliseconds work well for electronic music and allow transients through while controlling sustain. Release times between 50 and 150 milliseconds match the groove.
4. Boost Stereo Width While Maintaining Mono Compatibility
Mid/Side processing lets you adjust center and stereo elements independently. Low frequencies stay mono below 80 to 300 Hz to prevent phase cancelation. A high-shelf boost on the side channel widens the high-end air without affecting bass focus. Correlation meters should show values close to +1 for good phase relationships. Switch to mono during processing to identify elements that disappear or thin out.
5. Apply Final Loudness Processing
Your limiter ceiling should sit between -0.3 and -0.5 dBFS to avoid inter-sample peaks. Loop the loudest section and increase gain until you hear distortion artifacts, then back off by 0.5 to 1 dB. Moderate limiting works best. Apply no more than 2 dB of gain reduction when possible. Enable look-ahead and oversampling features to reduce distortion.
6. Add Subtle Color and Character
Harmonic saturation adds warmth and depth without overwhelming the mix. Saturation introduces compression and harmonic enhancement at once. The master bus benefits from subtle amounts that glue elements together. Tape saturation adds different character than tube saturation, so experiment with both. Keep saturation subtle, as excessive amounts create muddiness.
Testing Your Master for Club Readiness
Verification separates competent masters from ones that fall apart in ground environments. Run these checks once your mastering chain is complete.
Check in Mono for Phase Issues
Sound systems in clubs and pubs are often mono. Smart speakers, phones, and many subwoofer systems in venues sum signals down to mono playback. Phase cancelation becomes a deal-breaker for club readiness, so this matters.
Hit the mono button on your monitor controller and listen. Elements that become thinner, weaker, or disappear signal phase problems. Pay attention to stereo sounds lacking a focused center image. This indicates phase differences between left and right channels. If low-frequency instruments sound weak even after boosting, phase issues are present. Frequencies below 150Hz collapse into mono whatever playback system you use. Mono compatibility is non-negotiable for home mastering electronic music.
Test on Multiple Playback Systems
Listen on various sound systems. Club monitors, headphones, and car stereos all work. Check for distortion or unwanted artifacts at high volumes. You want to review your master on at least two or three playback types. Car tests are a great way to catch problems in low-end clarity and vocal balance. Club or PA system testing expresses how your master performs in high-energy, high-volume scenarios.
Compare Against Professional Reference Tracks
Always volume match when comparing. A difference of just 0.5dB deceives your brain. The louder track sounds better. Use metering tools to verify your comparison is fair. Focus on tonal balance, stereo width, and punch relative to references.
Verify Low-End Translation
Affordable studio monitors struggle to reproduce low frequencies with accuracy. Toggle between different monitoring systems to gage bass response. Request feedback from fellow producers or DJs experienced in techno. This external point of view catches translation issues you might miss after hours in your home studio.
Common Home Mastering Mistakes to Avoid
Errors in home mastering electronic music stem from four predictable patterns. You can avoid sonic compromises that undermine club performance when you recognize these pitfalls.
Over-Limiting and Losing Punch
Limiting should affect mix balance as little as possible. Apply 2-4 dB of reduction in most situations. Beyond this, you risk creating a noisy, distorted master. Heavy limiting sacrifices punch whatever the result sounds like. Transients jump out and add life to the track when you retain dynamics. Smashing dynamics pounds elements down and makes them disappear.
Ignoring the Importance of Headroom
Leave 3-6dB of headroom to master. Using a limiter to create headroom on the mix bus compresses the mix and squeezes dynamism out. Of course, avoid placing limiters or heavy compression on your master bus during mixdown. Lost dynamics cannot be restored if you deliver a compressed mix.
Neglecting Mid-Range Clarity
Mastering engineers use light-handed processing. To cite an instance, they may reduce 150Hz by 1dB and boost 5KHz by 0.7dB. Small adjustments accumulate to change the sound. Chipping away small amounts usually gets the best result.
Skipping the Listening Break
Take a 10-15 minute break every 60-90 minutes. Mixing in 45-minute sessions with 5-10 minute breaks prevents ear fatigue. Your ears lose objectivity after prolonged exposure. This makes unbiased decisions difficult.
Table of Contents
Conclusion
You now have everything you need to master techno tracks that sound powerful on club systems. Target -8 to -6 LUFS to maximize effect, preserve dynamic range to maintain punch, and test your masters on multiple playback systems before you finalize them.
Avoid the temptation to over-limit your tracks. Dynamic range keeps your music alive on the dancefloor. Excessive compression makes it sound flat and lifeless.
Apply these techniques to your next production and monitor how your tracks perform in club environments. Mastering techno at home takes practice. Your bedroom productions will translate with consistency and the right approach professionally. Keep testing and refining your process against references.