FL Studio mastering can be straightforward when you understand the complete music production process. I spent weeks testing every stock plugin and found that professional-sounding masters are possible without expensive third-party tools.
Producers often struggle to strike the right balance. A light touch leaves tracks feeling empty, while excessive processing destroys the song’s peaks. My tests led me to create a practical approach to mastering in FL Studio with stock plugins. These FL Studio mastering plugins work well for dubstep, hip-hop, house, and other genres. They deliver crisp, clear, and loud results that match industry standards. Let me share what I found to help you build a mastering chain in FL Studio that works without any guesswork.
Table of Contents
FL Studio Mastering Chain: Full Overview
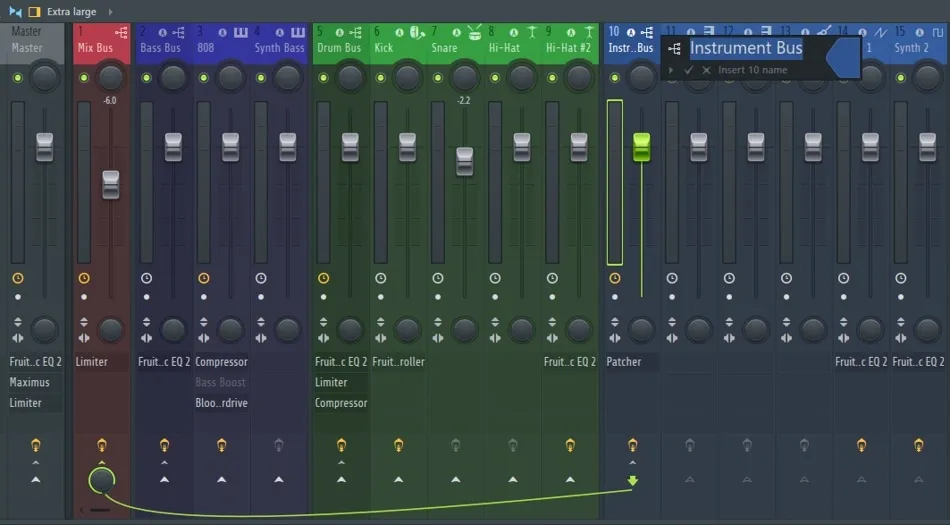
Image Source: Song Mix Master
The master channel acts as the final stop where all mixer inserts meet to create a single stereo output. FL Studio’s mastering magic happens here through a carefully planned sequence of plugins we call a mastering chain.
What is a mastering chain?
A mastering chain represents the sequence of your mastering plugins. This order determines how your audio signal flows from one processor to the next, and each plugin builds on what came before. Picture it as a production line that refines your sound at every step. Your mastering chain balances frequencies, controls dynamics, boosts stereo image, and ended up bringing your track to commercial loudness levels.
My work with mastering chains in FL Studio mostly involves series processing, where audio takes a single path through each plugin in sequence. This is different from parallel processing, which splits your audio into multiple simultaneous paths. Series processing means each plugin’s output feeds into the next one, creating a combined effect that shapes your final sound.
Why plugin order matters
Plugin sequence plays a crucial role in your final sound. To name just one example, see what happens when an EQ comes before a compressor – the compressor reacts to the equalized signal. But flip that order around, and the EQ shapes an already compressed sound, which creates completely different results.
Let’s look at two common setups:
EQ → Compressor → Limiter: Audio gets equalized first, then compressed, and finally limited
Compressor → EQ → Limiter: Audio gets compressed first, then equalized, and finally limited
Both approaches work well – they just serve different purposes. Understanding signal flow helps make smart decisions about plugin placement based on each track’s needs.
Some arrangements just make technical sense. Your loudness meter should sit at the very end of your chain, with your limiter right before it. This setup will give accurate loudness readings and proper peak control.
How to build a mastering chain in FL Studio
Building a mastering chain starts with adequate headroom – usually 5-6 dB below 0 dBFS. This space lets you process without unwanted distortion.
My basic mastering chain typically includes these key elements:
Gain staging – A clean gain plugin sets the track to a workable level, monitored through a loudness meter.
Parametric EQ 2 – This handles initial cleanup and subtractive equalization to remove problem frequencies.
Multiband compression – Maximus or Fruity Multiband Compressor helps control specific frequency ranges.
Single-band compression – This gently “hugs” the overall mix using slow attack and medium release.
Stereo enhancement – Used carefully to maintain phase coherence.
Soft clipping – Catches peaks and adds harmonic saturation before limiting.
Limiter – Set to a -1 dB ceiling to prevent digital clipping.
Loudness meter – Monitors LUFS levels and ensures standards compliance.
FL Studio’s mastering shines because of its flexibility – this framework adapts to each song’s needs. On top of that, small adjustments across multiple plugins usually sound better than pushing one processor too hard.
Note that mastering makes good mixes better but won’t fix poor ones. The cleaner your mix, the better your mastering chain will perform.
8 Stock Plugins I Tested for Mastering in FL Studio
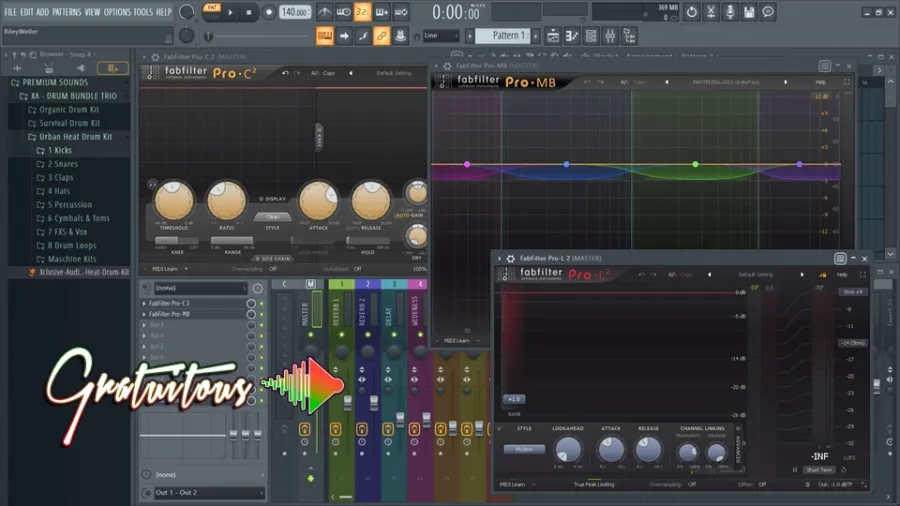
Image Source: GratuiTous
I tested dozens of processing options and picked the eight best stock plugins for FL Studio mastering. These tools form the foundation of my FL Studio mastering chain and consistently delivered professional results across all music styles.I tested dozens of processing options and picked the eight best stock plugins for mastering in FL Studio. These tools are the foundations of my mastering chain and gave me professional results with all kinds of music.
1. Fruity Parametric EQ 2: Subtractive EQ
This plugin is the lifeblood of any FL Studio mastering chain, offering precise frequency control and a clear visual display to identify problem areas. My FL Studio mastering EQ approach includes:
Cleaning up the low end (high-passing around 20-40 Hz)
Small dips in muddy frequencies (250-400 Hz)
Tiny tweaks in the mid-range (300-3000 Hz) where instruments sit
I don’t boost frequencies much. Instead, I cut unwanted resonances to make room for other processing.
2. Fruity Blood Overdrive: Subtle Saturation
Although designed for guitars, Fruity Blood Overdrive works surprisingly well for FL Studio mastering when used subtly. It adds warmth and density without harsh digital artifacts. My best FL Studio mastering results came from:
Very low Pre Amp settings (under 10%)
Tweaking Color based on the music style
Using Post Gain to balance level changes
The plugin creates upward compression on separate frequency bands without pre-amplification. This works just like tube compressors – perfect for subtle master bus improvements.
3. Maximus: Upward Compression
Maximus is one of the most powerful tools for FL Studio mastering. I use upward compression by raising each band’s mid-point slightly, which brings up quiet details without crushing peaks.
My Maximus mastering setup has:
Three separate frequency bands (low, mid, high)
Quick attack/release for highs
Slower settings for mids and lows to keep transients intact
This approach makes everything louder and more detailed while keeping the dynamic range.
4. Fruity Limiter: Peak Control
Fruity Limiter is crucial as the final stage to stop digital clipping. It limits transparently when you:
Set the ceiling to -1 dB to avoid streaming conversion issues
Use medium attack times to keep transients
Change release times for different styles (faster for EDM, slower for acoustic)
The built-in compression and sidechain features let you handle both subtle dynamics and peak limiting.
5. Fruity Multiband Compressor: Frequency-Specific Dynamics
This three-band stereo compressor splits signals using ButterWorth IIR or LinearPhase FIR filters. It’s great for:
Bass control without affecting the mids
Smoothing harsh highs on their own
Blending frequency ranges together
The variable-knee compression and peak limiting work really well on complex masters with lots of frequencies.
6. Fruity Stereo Enhancer: Width Control
You need to be careful with stereo enhancement during mastering. This plugin gives you precise control. Here’s what works best:
Small phase offset (20-40 ms) for natural width
Regular mono compatibility checks
Stereo separation only on mid-high frequencies
The plugin only works on stereo signals since it needs differences between left and right channels.
7. Fruity Soft Clipper: Harmonic Enhancement
This light-on-CPU soft limiter adds nice saturation while controlling peaks. Soft Clipper works great before your main limiter because it:
Adds warmth through gentle saturation
Catches peaks early
Creates headroom without obvious distortion
Simple threshold and post-gain controls make it easy to add harmonics effectively.
8. Fruity Reverb + Send: High-Frequency Expansion
If a master needs space, try sending just the highs to Fruity Reverb 2 in SIDE processing mode. This adds depth without making things muddy by:
Adding reverb to stereo content while keeping center elements dry
Using tiny wet levels (less than 10%)
Keeping decay times short to maintain clarity
This technique expands your high frequencies while keeping things clear and mono-compatible.
How Each Plugin Affects the Final Master
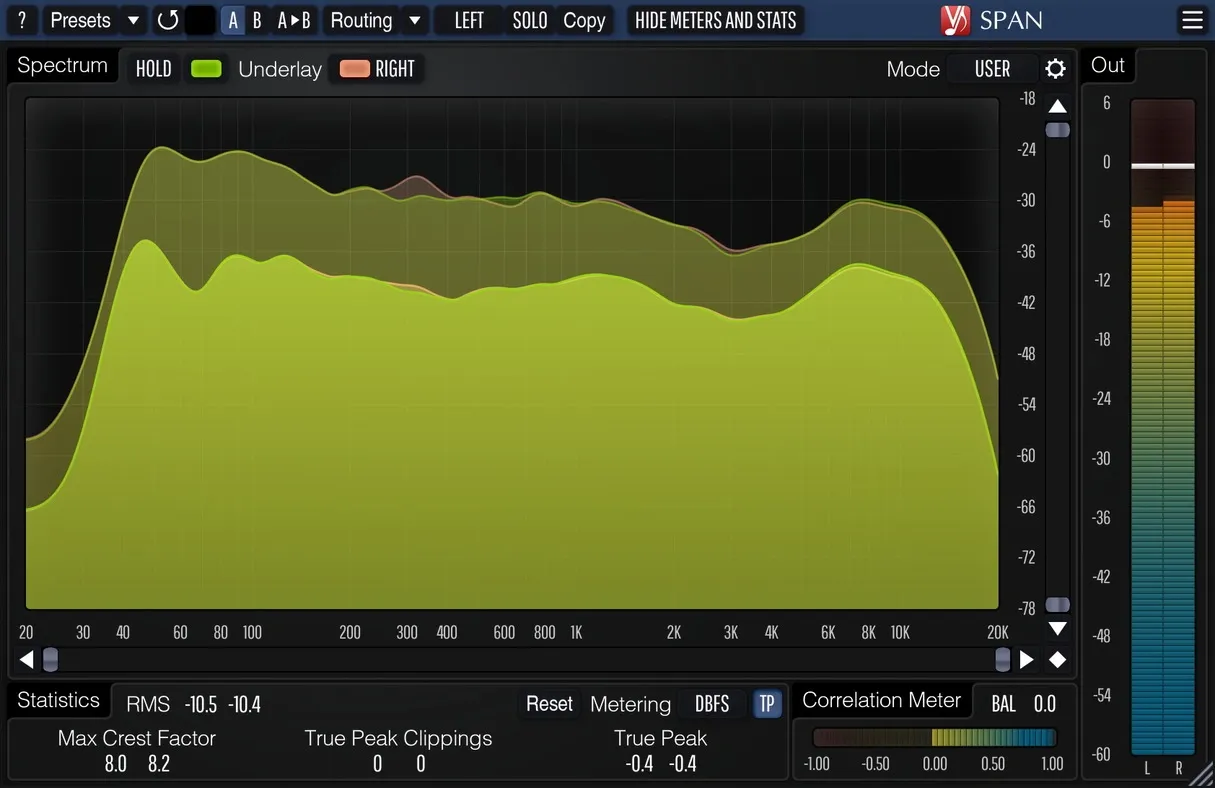
Image Source: MUSCO SOUND
The true power of FL Studio’s stock plugins becomes clear when you watch a raw mix turn into a polished master. My tests show exactly how each processing stage shapes the final sound.
Before and after comparisons
A/B testing without Maximus showed me how the master lost its polish and sounded flat. This proved that Maximus was doing its job right. The best masters don’t sound totally different from the original mix – they just make what’s already there better. You can hear this refinement when you compare pre and post-mastered audio. The difference should feel like an improvement rather than a complete change.
Fruity Parametric EQ 2 helped me get clearer low-end. I cut everything below 40 Hz, which created more headroom without losing any bass you could actually hear. The Fruity Blood Overdrive added some nice warmth and density that the raw mix didn’t have before.
How subtle changes stack up
The mastering process creates a chain reaction of tonal changes as plugins work together:
Compression builds up certain frequencies
Saturation makes elements brighter or thicker
Final EQ helps balance the frequency spectrum
A second Parametric EQ2 after compression worked really well to bring back high-frequency details that compression sometimes takes away. Adding just a touch of Fruity Reverb (10% wet or less) created space without making the mix muddy.
Avoiding over-processing
My tests showed that subtle changes work best. The old saying “less is more” rings true in mastering. Small tweaks across multiple processors created a more natural sound than pushing any single plugin too hard in FL Studio.
Note that mastering makes good mixes better – it can’t fix basic balance problems. If your vocals clash with instruments or your kick and bass fight each other, fix those issues during mixing. Good mastering in FL Studio needs careful restraint and attentive listening rather than heavy processing.
Best Practices for Using FL Studio Mastering Presets
FL Studio presets can speed up your mastering workflow significantly. The difference between amateur and professional results lies in understanding how to use them effectively.
When to use presets vs. manual settings
Presets make excellent starting points and help you save production time. They provide consistency between projects, but using them exclusively overlooks each track’s unique qualities. Genre-specific presets work best to create quick drafts or reference points. Critical projects need manual adjustments that match the song’s specific requirements.
Tweaking factory presets for your genre
FL Studio has mastering presets designed for music of all types—from break-beat to trap, EDM to rock. You should customize these presets by:
Adjusting compression settings based on your track’s dynamic range
Fine-tuning EQ settings that match your song’s key and frequency balance
Modifying stereo enhancement to suit your instrumentation
The factory presets provide solid foundations that need your personal touch to match your specific sound.
Saving your own mastering chains
Your refined mastering chain should become a custom preset. This builds your personal toolkit that grows with your production skills. Custom presets help maintain your signature sound throughout an album or EP without starting fresh each time.
Common Mistakes to Avoid in FL Studio Mastering
You might have powerful stock plugins, but even experienced producers make critical errors during FL Studio mastering. My extensive testing revealed three basic mistakes that can ruin otherwise promising masters.
Over-compression and pumping
FL Studio projects suffer from one common mastering error – excessive compression. Compressors that work too hard create an unnatural “pumping” effect where the audio rises and falls unnaturally. This happens when compression ratios go beyond 4:1. Your music then loses its natural dynamic range. The result? A flat and lifeless sound that’s just technically “louder.”
Signs of over-compression include:
Cymbals and hi-hats that “break up” or sound distorted
Kick drums that lack punch and definition
A mix that sounds tired instead of energetic
Ignoring LUFS and loudness targets
Many producers push their tracks too loud and ignore platform-specific loudness standards. Streaming services suggest around -14 LUFS integrated. Yet top-charting hits go beyond these recommendations. Maximizing loudness blindly without thinking about dynamic balance creates more harm than good.
Your target loudness matters less than keeping some dynamic range to create musical impact. The best approach? Compare your track’s sound to professional references in your genre rather than chasing specific numbers.
Misusing stereo imaging tools
Stereo enhancement can make or break a master. Wrong use of stereo imaging plugins leads to phase issues that become obvious in mono. My tests showed that widening low frequencies always caused problematic phase cancelation.
The best approach is to apply stereo enhancement only to mid and high frequencies. Low-end elements should stay centered. This way, your music will sound good everywhere—from club speakers to phone speakers.
Conclusion
My extensive testing of FL Studio’s stock plugins shows you can achieve professional-quality mastering without expensive third-party tools. The key isn’t exotic processors – it’s knowing how to combine simple tools into an effective mastering chain.
The eight stock plugins I tested give you everything you need for clean, commercial-sounding masters. Parametric EQ 2 takes care of frequency balancing, while Maximus handles sophisticated multiband dynamics control. Fruity Limiter delivers transparent peak limiting. On top of that, subtle touches with tools like Fruity Blood Overdrive add warmth that many think only comes from expensive analog emulations.
Your plugin order makes all the difference. Better results come from a logical flow: start with subtractive EQ, move to compression, add saturation, and finish with limiting. All the same, this order should adapt to your track’s specific needs.
My best masters came from small, thoughtful adjustments across multiple plugins. I never pushed any single processor too hard. This approach keeps musical dynamics intact while hitting competitive loudness levels.
Note that mastering improves what’s already there—it won’t fix fundamental mixing problems. Your track should sound 90% complete before you touch the master bus. Great mastering comes from careful listening, not from trying to fix problems desperately.
Without doubt, FL Studio has everything you need for professional mastering. These techniques will raise your productions’ quality and save you money and time hunting for plugins. Build your critical listening skills, study reference tracks, and use these stock tools wisely—your masters will sound better for it.